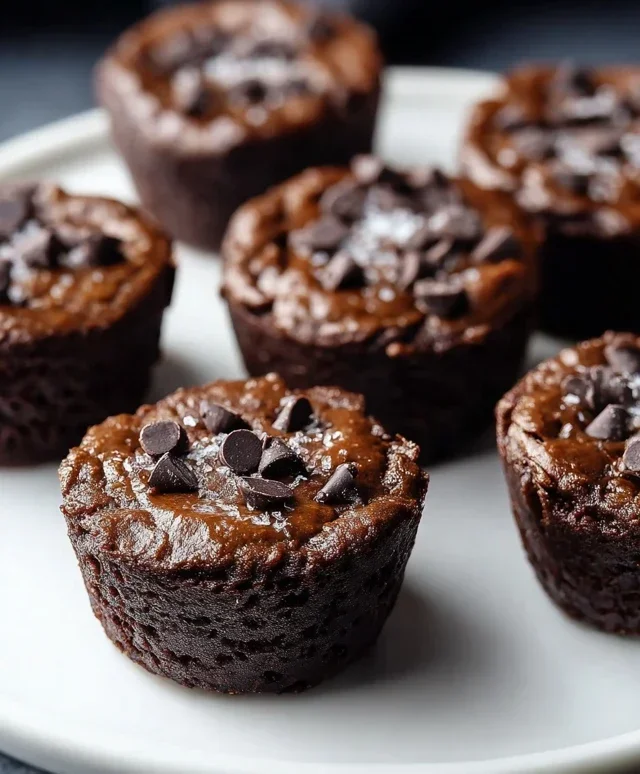
Protein Brownie Bites-Healthy & Delicious Treat
Protein Brownie Bites are about to become your new favorite guilt-free indulgence! Let’s be honest, who doesn’t adore a rich, fudgy brownie? The challenge, however, often lies in reconciling that deep chocolate craving with our health and fitness goals. That’s precisely where these incredible Protein Brownie Bites step in, offering a brilliant solution. Imagin extracte sinking your teeth into a perfectly chewy, intensely chocolatey bite that also fuels your body with essential protein. What makes them truly special is their remarkable ability to deliver all the decadent flavor and texture of a traditional brownie, without the sugar and refined flour guilt. They’re the perfect post-workout treat, a satisfying afternoon pick-me-up, or even a healthier dessert option for when that sweet tooth strikes. Get ready to experience brownie bliss like never before!
Indulge Your Sweet Tooth the Healthy Way: Protein Brownie Bites
Craving something rich, chocolatey, and satisfying, but don’t want to derail your healthy eating goals? I’ve got the perfect solution for you! These Protein Brownie Bites are incredibly easy to make, require no baking, and are packed with protein to keep you feeling full and energized. They’re the ultimate guilt-free treat that will have everyone asking for the recipe. Whether you’re looking for a post-workout snack, a healthier dessert option, or just a way to curb those sweet cravings, these bites are your answer. The simplicity of this recipe means you can whip them up in minutes, and the delicious flavor will make you forget they’re even good for you.
Ingredients:
Crafting Your Protein Brownie Bites
The beauty of these brownie bites lies in their straightforward preparation. There’s no oven required, making them perfect for any time of year, and especially ideal when you want a quick fix without the heat. We’re going to rely on the natural sweetness of ripe bananas and the rich flavor of cocoa to create that classic brownie taste.
Step 1: The Banana Base
First things first, let’s get our bananas ready. You absolutely need very ripe bananas for this recipe. The riper they are, the sweeter they will be, and the easier they will mash. Look for bananas with plenty of brown spots – these are your golden tickets to sweetness and moisture. Peel the bananas and place them into a medium-sized mixing bowl. Using a fork, mash the bananas thoroughly. You want to achieve a smooth, lump-free consistency. Imagin extracte you’re making baby food; the smoother, the better. This will form the base of our brownie mixture, providing moisture and natural sweetness. Take your time here; any large banana chunks will affect the final texture of your bites.
Step 2: Introducing the Creamy Goodness
Once your bananas are perfectly mashed, it’s time to add the healthy fats and binding agents. Add the ½ cup of smooth peanut butter or almond butter to the bowl. If you’re using peanut butter, a natural variety that’s just peanuts and salt will work best for the cleanest flavor. Similarly, almond butter offers a delicious alternative with its own distinct nutty profile. Stir the nut butter into the mashed bananas until it’s well combined. The mixture will become a bit thicker and creamier. You might need to put a little elbow grease into this step, especially if your nut butter is on the firmer side. Ensure there are no streaks of just banana or just nut butter; we want a harmonious blend.
Step 3: The Protein Powerhouse and Chocolate Depth
Now, let’s infuse these bites with their protein punch and deep chocolate flavor. Add the ½ cup of your chosen protein powder (vanilla or chocolate). If you’re using vanilla protein powder, you’ll get a slightly richer, more complex chocolate flavor from the cocoa. If you opt for chocolate protein powder, you’ll intensify that chocolate goodness even further. Follow this with the ¼ cup of unsweetened cocoa powder. Unsweetened cocoa powder is crucial here as it provides that intense, bittersweet chocolate flavor without adding extra sugar. Stir everything together until it’s just combined. Don’t overmix at this stage. We’re aiming for a thick, dough-like consistency. If the mixture seems too dry, you can add a tiny splash of milk (dairy or non-dairy) to help it come together. Conversely, if it feels too wet, a little more protein powder or cocoa powder can help absorb excess moisture.
Step 4: Optional Chocolatey Treasures
This is where you can take your brownie bites to the next level of decadence! If you’re feeling fancy and want those classic brownie bursts of chocolate, now is the time to add your sprinkle of chocolate chips. Mini chocolate chips tend to distribute more evenly throughout the bites. Gently fold them into the mixture. You don’t want to overwork the dough at this point, as it can make the bites tough. Just a few gentle stirs to ensure the chips are distributed. This step is entirely optional, but I highly recommend it if you’re a true chocolate lover!
Step 5: Forming and Chilling the Bites
With our delicious brownie dough ready, it’s time to give it shape. You can use your hands to roll the mixture into small balls, about 1-inch in diameter. If the mixture is a bit sticky, you can lightly wet your hands or dust them with a little unsweetened cocoa powder to prevent sticking. Alternatively, you can use a small cookie scoop or even just press the mixture into a small, parchment-lined square or rectangular container and then cut it into bite-sized squares once chilled. Once you have your bites formed, place them onto a plate or baking sheet lined with parchment paper. Pop the plate into the refrigerator for at least 30 minutes. This chilling period is crucial. It allows the bites to firm up, making them less sticky and giving them a better texture. They’ll hold their shape much better after chilling.
Step 6: Enjoying Your Healthy Indulgence
Once chilled, your Protein Brownie Bites are ready to be devoured! They are best enjoyed straight from the refrigerator. The texture will be wonderfully fudgy and chewy. These bites are perfect for a quick grab-and-go snack, a healthy addition to your lunchbox, or a satisfying end to a meal. They store well in an airtight container in the refrigerator for up to 3-4 days. You might find yourself making a double batch because they disappear so quickly! Enjoy the rich chocolate flavor and the satisfaction of knowing you’re treating yourself to something delicious and nutritious.
Conclusion:
I hope you’re as excited as I am about these delicious and incredibly satisfying Protein Brownie Bites! They truly are a game-changer for anyone looking for a healthier way to enjoy a chocolatey treat. Packed with protein, these little bites are perfect for a post-workout refuel, a midday energy boost, or even a guilt-free dessert. The chewy texture and rich chocolate flavor make it hard to believe they’re so good for you. Whether you’re a seasoned baker or just starting out, this recipe is straightforward and yields fantastic results every time. Don’t hesitate to give these Protein Brownie Bites a try – you won’t regret it!
For serving, enjoy them on their own, or get creative! They’re fantastic with a scoop of Greek yogurt or a sprinkle of fresh berries. You can also crum extractble them over your morning oatmeal or yogurt parfait for an extra protein punch and delightful texture. If you’re feeling adventurous with variations, consider adding a handful of chopped nuts like almonds or walnuts, a swirl of peanut butter or almond butter before baking, or even some mini chocolate chips for an extra decadent experience. Experiment and find your favorite way to enjoy them!
Frequently Asked Questions:
Can I make these vegan?
Absolutely! To make these vegan, you’ll want to substitute the eggs with a flax egg (1 tablespoon flaxseed meal mixed with 3 tablespoons water, let sit for 5 minutes) or a commercial egg replacer. Ensure your protein powder and chocolate chips are also vegan.
How long do these protein brownie bites last?
Stored in an airtight container in the refrigerator, these bites should stay fresh for up to a week. They also freeze beautifully, making them a great option for batch prepping. Just thaw them at room temperature or gently warm them before enjoying.
What kind of protein powder works best?
Most protein powders will work, but I’ve found that whey or plant-based protein powders (like pea or brown rice protein) give the best texture and flavor. Unflavored or chocolate-flavored protein powders are ideal for this recipe.
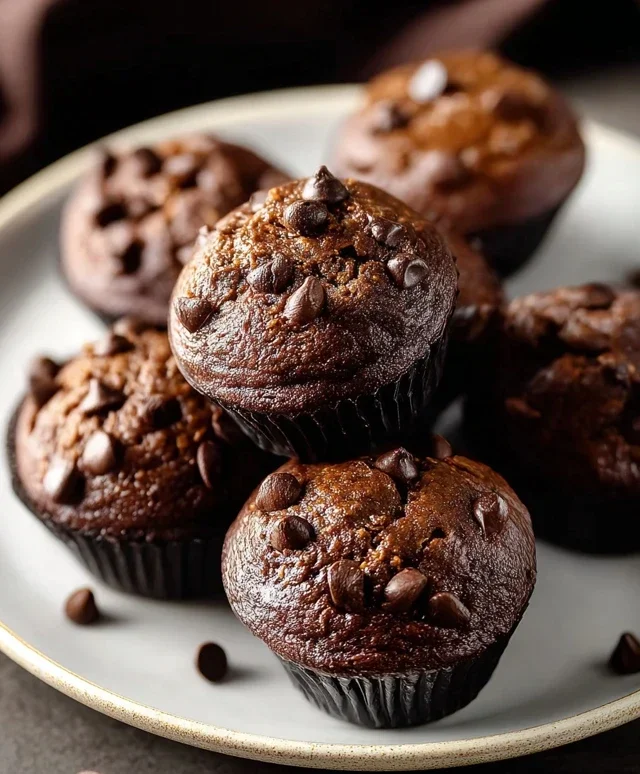
Protein Brownie Bites
Quick and easy protein-packed brownie bites, perfect for a healthy treat. Uses ripe bananas and protein powder for a satisfying flavor and texture.
Ingredients
-
3 very ripe bananas
-
½ cup smooth peanut butter
-
1/2 cup vanilla protein powder
-
1/4 cup unsweetened cocoa powder
-
Sprinkle of mini chocolate chips
Instructions
-
Step 1
Preheat oven to 350°F (175°C) and line a mini muffin tin with liners or grease well. -
Step 2
In a medium bowl, mash the very ripe bananas until smooth. -
Step 3
Add the smooth peanut butter, vanilla protein powder, and unsweetened cocoa powder to the mashed bananas. Mix until well combined and a thick batter forms. -
Step 4
Gently fold in the sprinkle of mini chocolate chips, if using. -
Step 5
Spoon the batter into the prepared mini muffin cups, filling each about two-thirds full. -
Step 6
Bake for 12-15 minutes, or until a toothpick inserted into the center comes out with moist crumbs. -
Step 7
Let the brownie bites cool in the tin for a few minutes before transferring them to a wire rack to cool completely.
Important Information
Nutrition Facts (Per Serving)
It is important to consider this information as approximate and not to use it as definitive health advice.
Allergy Information
Please check ingredients for potential allergens and consult a health professional if in doubt.