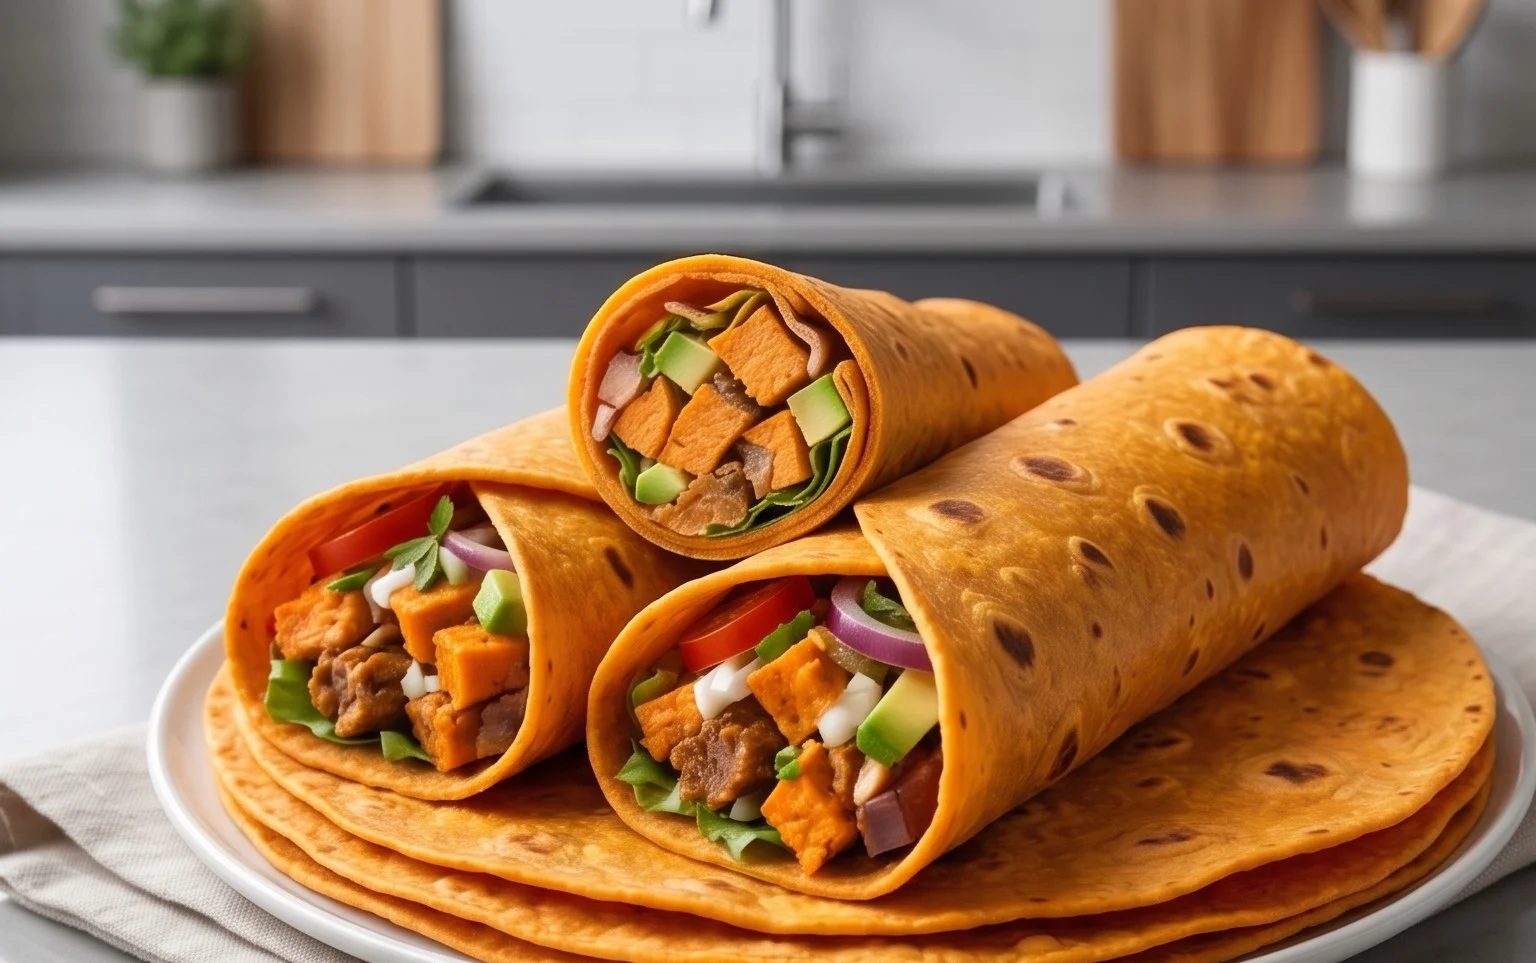
Gluten-Free Vegan Sweet Potato Tortillas
Sweet Potato Tortillas (Gluten-Free Vegan Wraps) are about to become your new favorite way to enjoy your favorite fillings! Are you tired of bland, crum extractbly gluten-free options that just don’t hit the spot? I know I was, and that’s precisely why I embarked on a culinary adventure to create the perfect wrapper. These vibrant, naturally sweet, and incredibly versatile sweet potato tortillas offer a delightful chegrape juicess and a subtle earthy sweetness that pairs beautifully with everything from savory spiced beans to fresh, crisp vegetables. What truly makes these sweet potato tortillas special is their inherent goodness – they’re not just delicious, they’re also packed with nutrients and entirely free from gluten and animal products. They’re the guilt-free, flavor-packed solution to all your wrap cravings, bringin extractg a little sunshine to every bite. Get ready to elevate your lunch game and impress yourself (and anyone lucky enough to share!) with these amazing gluten-free vegan wraps.
Sweet Potato Tortillas (Gluten-Free Vegan Wraps)
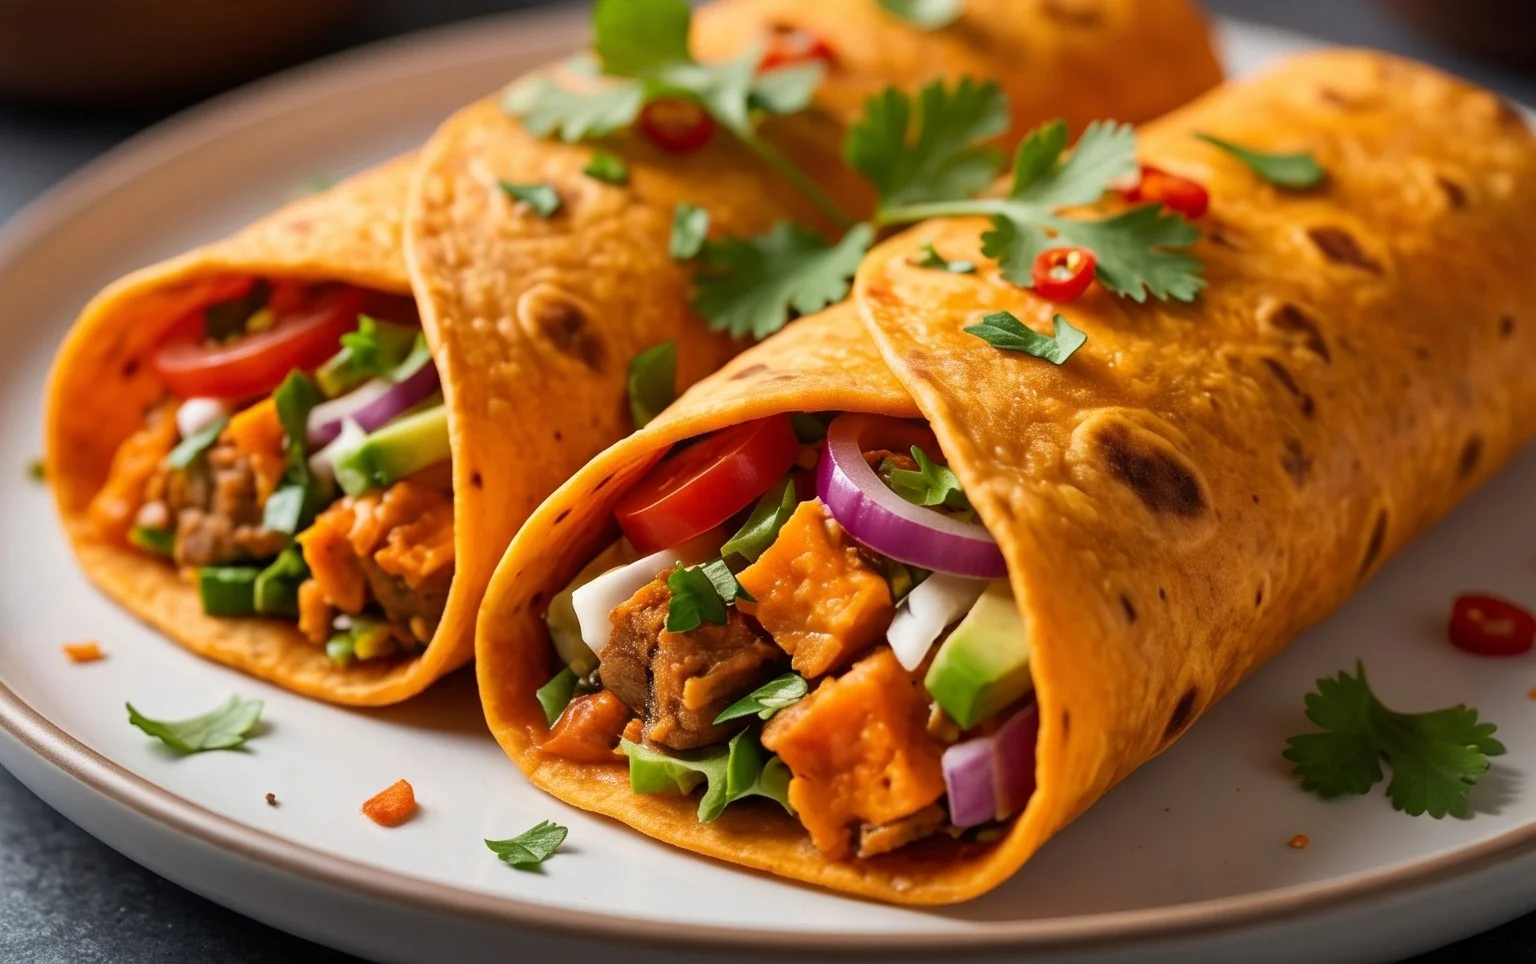
Get ready to revolutionize your wrap game! These sweet potato tortillas are not only incredibly delicious and naturally vibrant, but they’re also completely gluten-free and vegan. Forget those store-bought options that often fall apart or have a strange texture. We’re making them from scratch, and it’s easier than you might think. The natural sweetness of the sweet potato lends a delightful, subtle flavor that pairs wonderfully with both savory and sweet fillings. Plus, the psyllium husk provides a fantastic chewy texture, mimicking traditional tortillas beautifully. These wraps are perfect for everything from breakfast burritos to hearty lunch wraps and even a fun base for mini pizzas.
Ingredients:
Instructions:
Conclusion:
There you have it! These sweet potato tortillas are a true game-changer for anyone seeking delicious, versatile, and healthy gluten-free vegan wraps. Their beautiful natural color, subtle sweetness, and satisfyingly pliable texture make them perfect for so many culinary adventures. They’re a fantastic alternative to traditional wheat tortillas, opening up a world of possibilities for those with dietary restrictions or simply looking to add more wholesome ingredients to their diet. I’ve found them to be wonderfully adaptable, and I truly encourage you to give this recipe a try. You’ll be amazed at how easy it is to whip up these vibrant, nutrient-packed rounds that taste incredible.
Think beyond the usual burrito fillings! These sweet potato tortillas are divine filled with black beans, corn salsa, avocado, and a drizzle of cashew crema for a hearty vegan meal. They’re also wonderful for breakfast wraps, stuffed with scrambled tofu, spinach, and a dash of hot sauce. For something a little different, try them as a base for mini pizzas or even as a delightful dessert wrap filled with cinnamon-spiced apples or berries and a dollop of coconut yogurt.
Don’t be afraid to experiment with the flavor profile! You can add a pinch of cumin or smoked paprika to the dough for a savory twist, or even a touch of cinnamon for those sweeter applications. The possibilities with these versatile sweet potato tortillas are truly endless!
Frequently Asked Questions about Sweet Potato Tortillas:
Q: How should I store leftover sweet potato tortillas?
A: Once cooled, store your sweet potato tortillas in an airtight container or a resealable bag in the refrigerator for up to 3-4 days. To reheat, you can gently warm them in a dry skillet over medium-low heat for about 30 seconds per side, or wrap them in a damp paper towel and microwave for 15-20 seconds until pliable.
Q: My tortillas are a bit dry and cracking. What did I do wrong?
A: This can happen if the dough is too dry or if you overcook them. Ensure you’re using the correct ratio of ingredients. If the dough seems dry, add a teaspoon of water at a time until it comes together. When cooking, aim for a short cooking time on each side, just until they puff up slightly and develop a few golden spots. Overcooking will definitely lead to dryness.
Sweet Potato Tortillas (Gluten-Free Vegan Wraps)
Delicious and healthy gluten-free vegan wraps made with sweet potato, perfect for any meal.
Ingredients
-
2 small sweet potatoes – steamed or boiled (no liquid / mashed)
-
2 tbsp vegan butter – I used Miyoko’s (or use oil (ghee))
-
1-2 tbsp hot water
-
3/4 tsp sea salt + dash black pepper
-
1/2 tsp onion powder
-
1/2 tsp garlic powder
-
3/4 cup gluten free sourdough starter (see notes, if you don’t have any)
-
2 tsp psyllium husk
-
2-3 tbsp arrowroot flour (or other starchy flour)
-
1/2 tsp baking powder (optional, for puffier tortillas)
Instructions
-
Step 1
Mash the steamed or boiled sweet potatoes until smooth, ensuring no liquid remains. -
Step 2
In a bowl, combine the mashed sweet potato, vegan butter, hot water, sea salt, black pepper, onion powder, and garlic powder. Mix well. -
Step 3
Stir in the gluten-free sourdough starter and psyllium husk until thoroughly combined. -
Step 4
Gradually add the arrowroot flour, and baking powder (if using), mixing until a pliable dough forms. Adjust with a little more arrowroot flour if too sticky. -
Step 5
Divide the dough into 6-8 equal portions and roll each into a ball. -
Step 6
On a lightly floured surface (using arrowroot flour), roll each ball thinly into a tortilla shape. -
Step 7
Cook each tortilla on a lightly oiled griddle or skillet over medium heat for 2-3 minutes per side, until golden brown and slightly puffed.
Important Information
Nutrition Facts (Per Serving)
It is important to consider this information as approximate and not to use it as definitive health advice.
Allergy Information
Please check ingredients for potential allergens and consult a health professional if in doubt.