Easy Homemade Bread Recipe – Bake Deliciously at Home
Easy Homemade Bread is more than just a recipe; it’s an invitation to experience pure, unadulterated comfort. Imagin extracte the aroma filling your kitchen as a golden loaf bakes, a scent that instantly evokes warmth, love, and nostalgia. There’s something incredibly satisfying about creating sustenance with your own hands, transforming simple ingredients into a glorious, crusty masterpiece. Why do we all adore a good loaf? It’s the perfect companion to almost any meal, from a hearty soup to a simple breakfast spread. It’s the foundation for amazing sandwiches and the ultimate vehicle for butter and jam. What truly makes this particular easy homemade bread special is its accessibility. Forget complicated techniques and long proofing times; this recipe is designed for busy lives and aspiring bakers, proving that delicious, fresh-baked bread is within everyone’s reach. Get ready to impress yourself (and everyone you share it with!) with this wonderfully straightforward approach to baking.
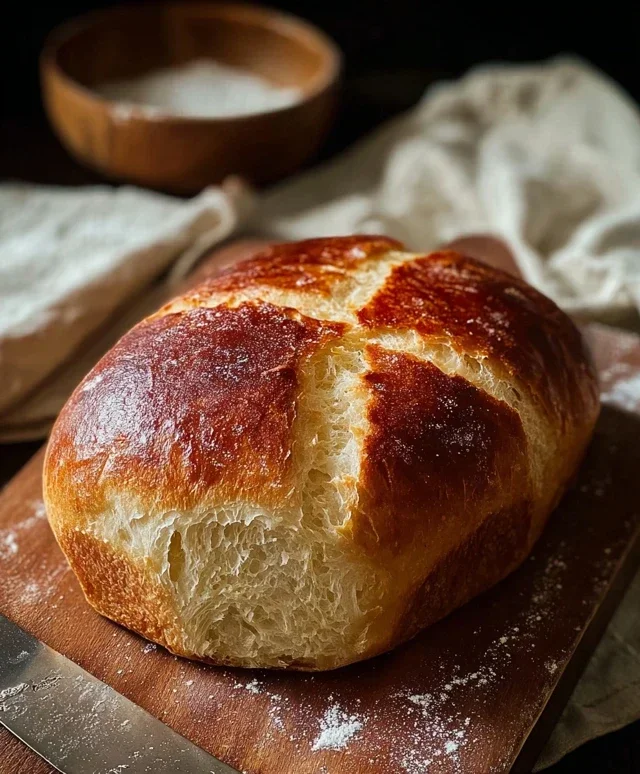
Easy Homemade Bread
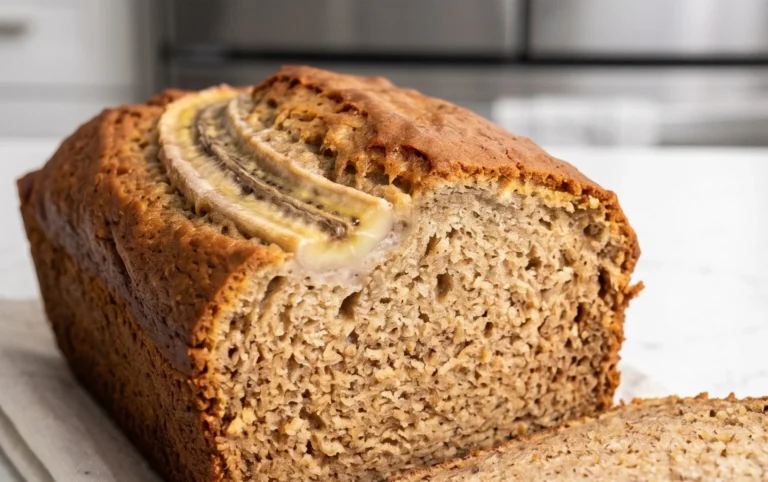
There’s something incredibly satisfying about pulling a warm, crusty loaf of homemade bread from your oven. The aroma alone is enough to make your kitchen feel like the heart of the home. For years, I believed making bread was a complicated, time-consuming endeavor reserved for seasoned bakers. But I was so wrong! This recipe for Easy Homemade Bread has completely changed my perspective. It’s simple enough for begin extractners, requires minimal active time, and the results are consistently impressive. Forget those bland, mass-produced loaves; this is the real deal.
Ingredients:
Getting Started: Mixing the Dough
The first step in our bread-making adventure is to combine our ingredients. In a large mixing bowl, or the bowl of your stand mixer fitted with a dough hook, pour in your 1 ½ cups of warm water. It’s important that the water is warm but not hot; too hot and you’ll kill the yeast, too cold and it won’t activate properly. A good test is to stick your finger in it – it should feel comfortably warm, like a nice bath. Sprinkle the entire packet of instant yeast over the warm water. Give it a gentle whisk or stir and let it sit for about 5-10 minutes. You should start to see it get a little foamy or bubbly on top. This is called “proofing” the yeast, and it tells us that our yeast is alive and ready to do its job of making our bread rise beautifully. If you don’t see any foam, your yeast might be old, or the water temperature was off, and you’ll want to start with fresh yeast and the correct water temperature.
Once your yeast is foamy, add the 3 cups of bread flour to the bowl. Bread flour is ideal because its higher protein content develops gluten more effectively, leading to a chewier texture and a better rise. However, if you don’t have bread flour on hand, all-purpose flour will work perfectly fine, you might just notice a slightly less chewy crum extractb. Finally, add the 2 ½ teaspoons of kosher salt. Kosher salt has larger, flakier crystals than table salt, making it easier to measure and less likely to overpower the dough. Salt is crucial not only for flavor but also for controlling the yeast’s activity and strengthening the gluten structure.
Kneading the Dough
Now it’s time to bring everything together and develop the gluten. If you’re using a stand mixer, start mixing on low speed until a shaggy dough forms. Then, increase the speed to medium and let it knead for about 5-7 minutes. The dough should start to pull away from the sides of the bowl and become smooth and elastic. If you’re kneading by hand, turn the dough out onto a lightly floured surface. Push the dough away from you with the heel of your hand, then fold it back towards you. Rotate the dough a quarter turn and repeat. This process might seem a little strenuous at first, but as you knead, the dough will transform from a sticky mess into a supple, elastic ball. You’re looking for a dough that springs back slowly when you poke it with your finger and has a smooth, almost silky texture. If the dough feels too sticky, add a tablespoon of flour at a time. If it feels too dry, add a teaspoon of water at a time, but be very conservative with these additions.
First Rise: Letting the Dough Proof
Once your dough is nicely kneaded, it’s time for its first rise, also known as proofing. Lightly grease a clean bowl with a little bit of olive oil or cooking spray. Place the kneaded dough into the greased bowl, turning it to coat the entire surface with oil. This prevents the dough from drying out. Cover the bowl tightly with plastic wrap or a damp kitchen towel. Find a warm, draft-free spot in your kitchen for the dough to rest. This could be on top of your refrigerator, inside a slightly warmed (and then turned off!) oven, or just on your counter if your kitchen is consistently warm. The dough needs to double in size, which typically takes about 1 to 1 ½ hours, depending on the ambient temperature. You’ll know it’s ready when it looks visibly puffy and has increased in volume significantly. Resist the urge to poke it too much, as this can deflate the precious air bubbles we’ve worked so hard to create.
Shaping and Second Rise
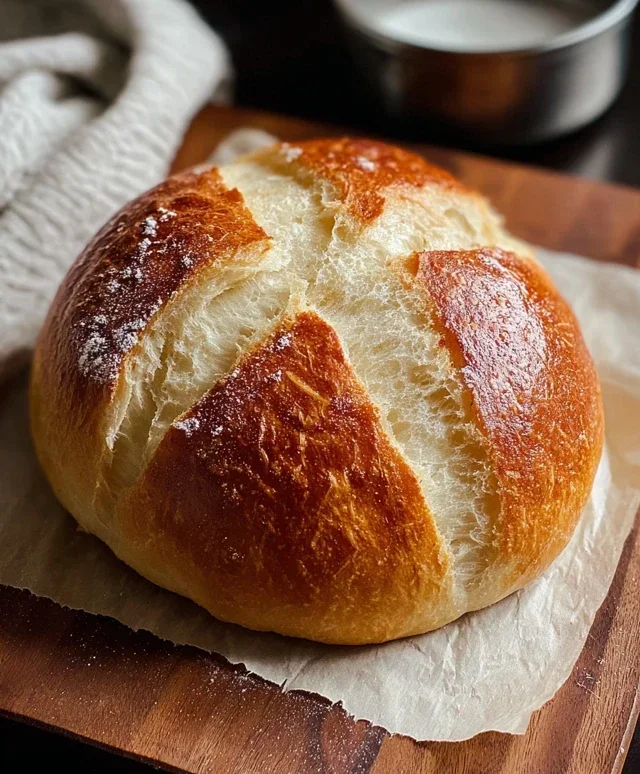
After the dough has doubled in size, gently punch it down to release the accumulated gases. Turn the dough out onto a lightly floured surface. At this point, you can shape your bread. For a classic loaf, gently pat the dough into a rectangle. Then, starting from one of the shorter ends, tightly roll up the dough, pinching the seam closed. Tuck in the ends to create a neat loaf shape. If you prefer a round loaf (boule), simply gather the edges of the dough towards the center, pinch them together, and then gently shape it into a smooth ball by cupping your hands around it and rotating it on the counter. Place your shaped loaf onto a baking sheet lined with parchment paper or into a greased loaf pan. Cover it loosely with plastic wrap or a clean kitchen towel and let it rise again in a warm place for another 30-45 minutes, or until it’s noticeably puffy and looks like it’s almost ready to burst.
Baking Your Masterpiece
Preheat your oven to 400°F (200°C) during the last 15 minutes of the second rise. Once the oven is preheated and your dough has completed its second rise, it’s time to bake. For an extra-crispy crust, you can create steam in your oven. The easiest way to do this is to place a metal baking pan on the bottom rack of your oven while it preheats. Just before you put the bread in, carefully pour about ½ cup of hot water into the preheated pan. Be cautious of the steam! Alternatively, you can spritz the oven walls with water a few times during the initial minutes of baking.
Carefully place your loaf onto the middle rack of the hot oven. Bake for 30-35 minutes, or until the crust is a deep golden brown and the internal temperature of the bread reaches 200-210°F (93-99°C) when tested with an instant-read thermometer. The bottom of the loaf should sound hollow when tapped. Once baked, immediately remove the bread from the pan or baking sheet and place it on a wire rack to cool completely. This is probably the hardest part – waiting for the bread to cool! Slicing into it too early will result in a gummy texture. Letting it cool allows the internal structure to set properly. Once cooled, slice, spread with butter, and enjoy the fruits of your labor. You’ve just made delicious homemade bread from scratch!
Conclusion:
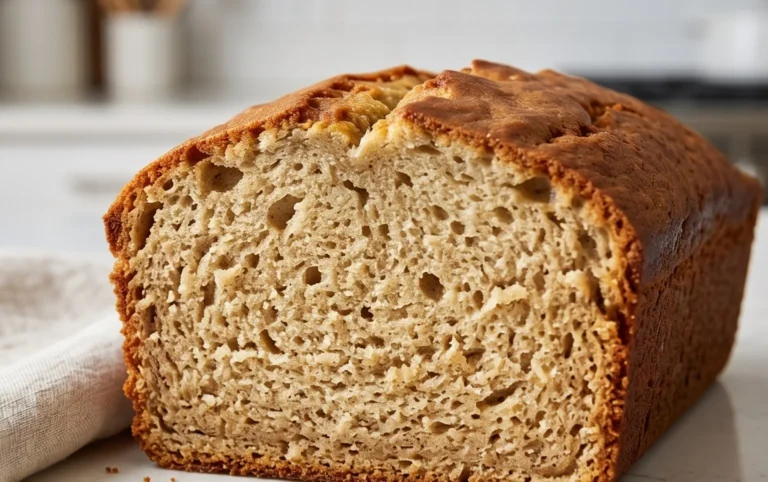
There you have it! This easy homemade bread recipe is truly a game-changer for anyone looking to bring the comforting aroma and delicious taste of freshly baked bread into their home without the fuss. We’ve shown you that with just a few basic ingredients and a little patience, you can achieve a wonderfully crusty exterior and a soft, airy interior that rivals any bakery. It’s incredibly rewarding to pull a warm loaf from your own oven, and I can’t wait for you to experience that satisfaction!
This versatile bread is perfect for so many occasions. Slice it thick for hearty sandwiches, toast it for a delightful breakfast with butter and jam, or serve it alongside your favorite soups and stews. Don’t be afraid to get creative with variations! Try adding herbs like rosemary or thyme to the dough, or incorporate some shredded cheese for a savory twist. You could even experiment with different flours, like a touch of whole wheat for added texture and flavor. I truly encourage you to give this recipe a try. You’ll be amazed at how simple and delicious homemade bread can be!
Frequently Asked Questions:
Why is my bread not rising?
This can happen for a few reasons! Ensure your yeast is fresh and active; expired yeast won’t produce the necessary leavening. Also, check the temperature of your liquid; water that is too hot can kill the yeast, while water that is too cool won’t activate it properly. Make sure you’re giving the dough enough time to rise in a warm, draft-free spot.
Can I freeze this bread?
Absolutely! Once the bread has cooled completely, wrap it tightly in plastic wrap and then in aluminum foil or place it in a freezer-safe bag. It will keep well in the freezer for up to 3 months. Thaw it at room temperature or gently reheat it in the oven.
What is the best way to store homemade bread?
For immediate consumption, a bread box or a loosely covered container works well to maintain a good crust. If you wrap it too tightly while still warm, the crust can become soft. For longer storage, once completely cooled, wrapping it in a clean kitchen towel or a paper bag can help preserve its texture for a couple of days.
Easy Homemade Bread
A simple and delicious recipe for homemade bread that’s perfect for beginners.
Ingredients
-
1 ½ cups warm water
-
3 cups bread flour
-
1 packet Instant Yeast
-
2 ½ tsp kosher salt
-
1 tablespoon olive oil
Instructions
-
Step 1
In a large bowl, combine warm water and instant yeast. Let stand for 5 minutes until foamy. -
Step 2
Add bread flour, kosher salt, and olive oil to the bowl. Mix until a shaggy dough forms. -
Step 3
Turn dough out onto a lightly floured surface and knead for 5-7 minutes until smooth and elastic. -
Step 4
Place dough in a greased bowl, cover, and let rise in a warm place for 1 hour, or until doubled in size. -
Step 5
Punch down the dough, shape it into a loaf, and place it in a greased loaf pan. -
Step 6
Bake in a preheated oven at 375°F (190°C) for 30-35 minutes, or until golden brown and cooked through.
Important Information
Nutrition Facts (Per Serving)
It is important to consider this information as approximate and not to use it as definitive health advice.
Allergy Information
Please check ingredients for potential allergens and consult a health professional if in doubt.