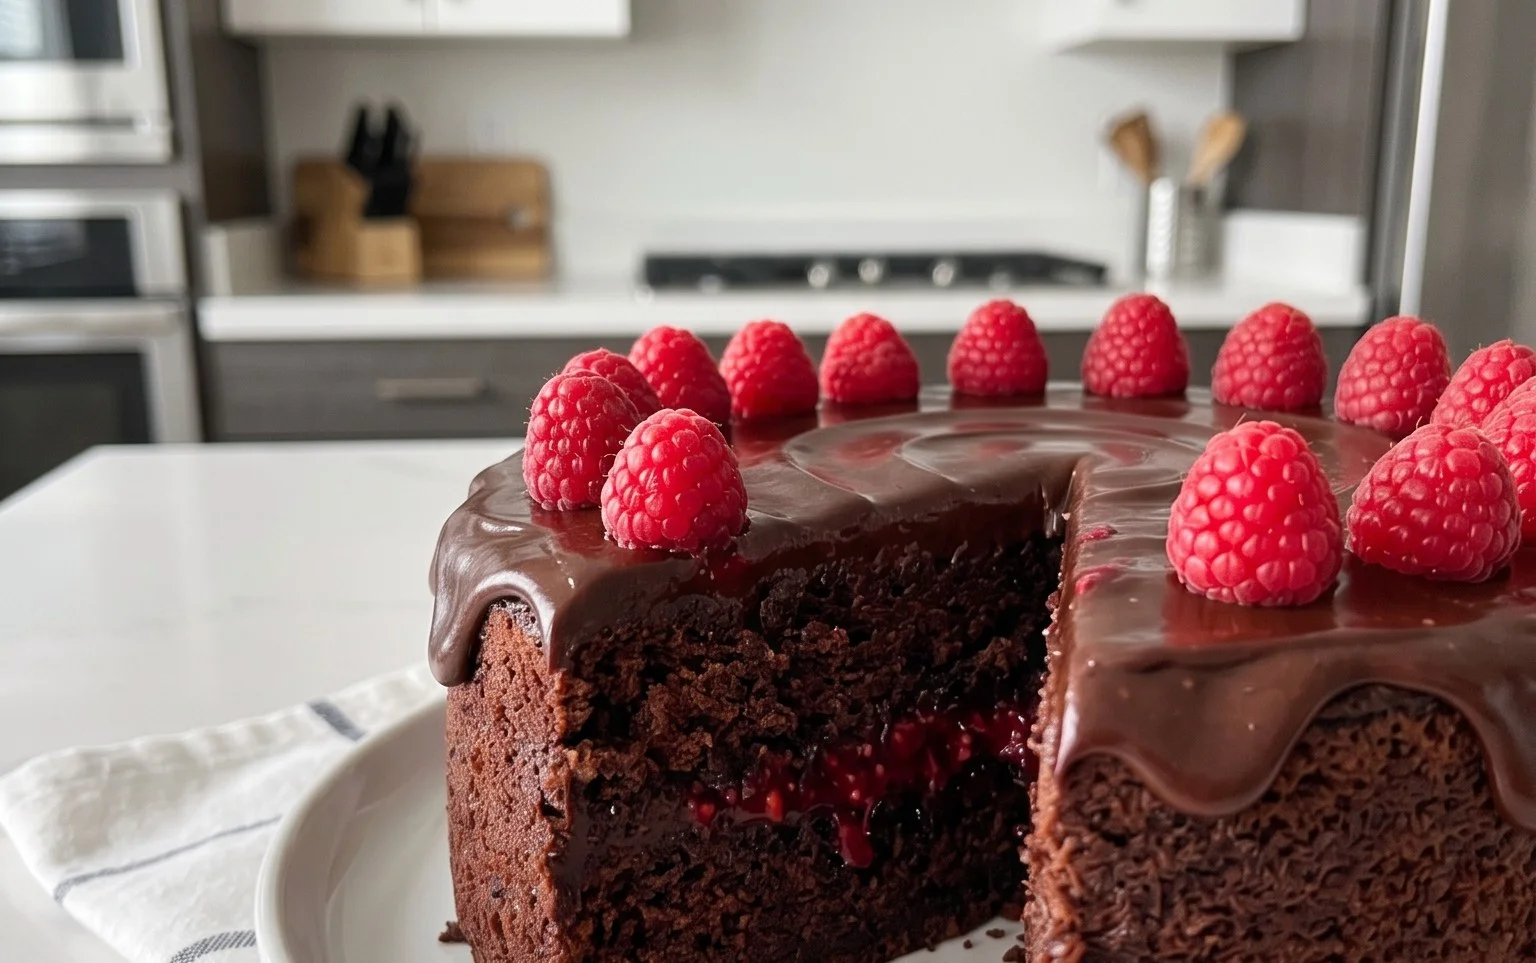
Decadent Chocolate Raspberry Cake Recipe – Rich & Easy
Chocolate Raspberry Cake is a timeless classic for a reason, and today, we’re diving headfirst into creating a version that’s truly unforgettable. Imagin extracte sinking your fork into a slice of deep, dark chocolate cake, each moist crum extractb infused with rich cocoa flavor. Then, the delightful surprise: pockets of bright, tangy raspberry filling, bursting with fruity goodness, cut through the sweetness perfectly. This combination isn’t just delicious; it’s an experience. It’s that comforting yet sophisticated dessert that makes any occasion feel a little more special. Whether you’re celebrating a birthday, hosting a dinner party, or simply craving something utterly divine, our Chocolate Raspberry Cake recipe is designed to impress. We’ll guide you through every step to ensure you achieve that perfect balance of decadent chocolate and vibrant raspberry, making this Chocolate Raspberry Cake a guaranteed showstopper.
Ingredients:
Chocolate Raspberry Cake: A Decadent Delight
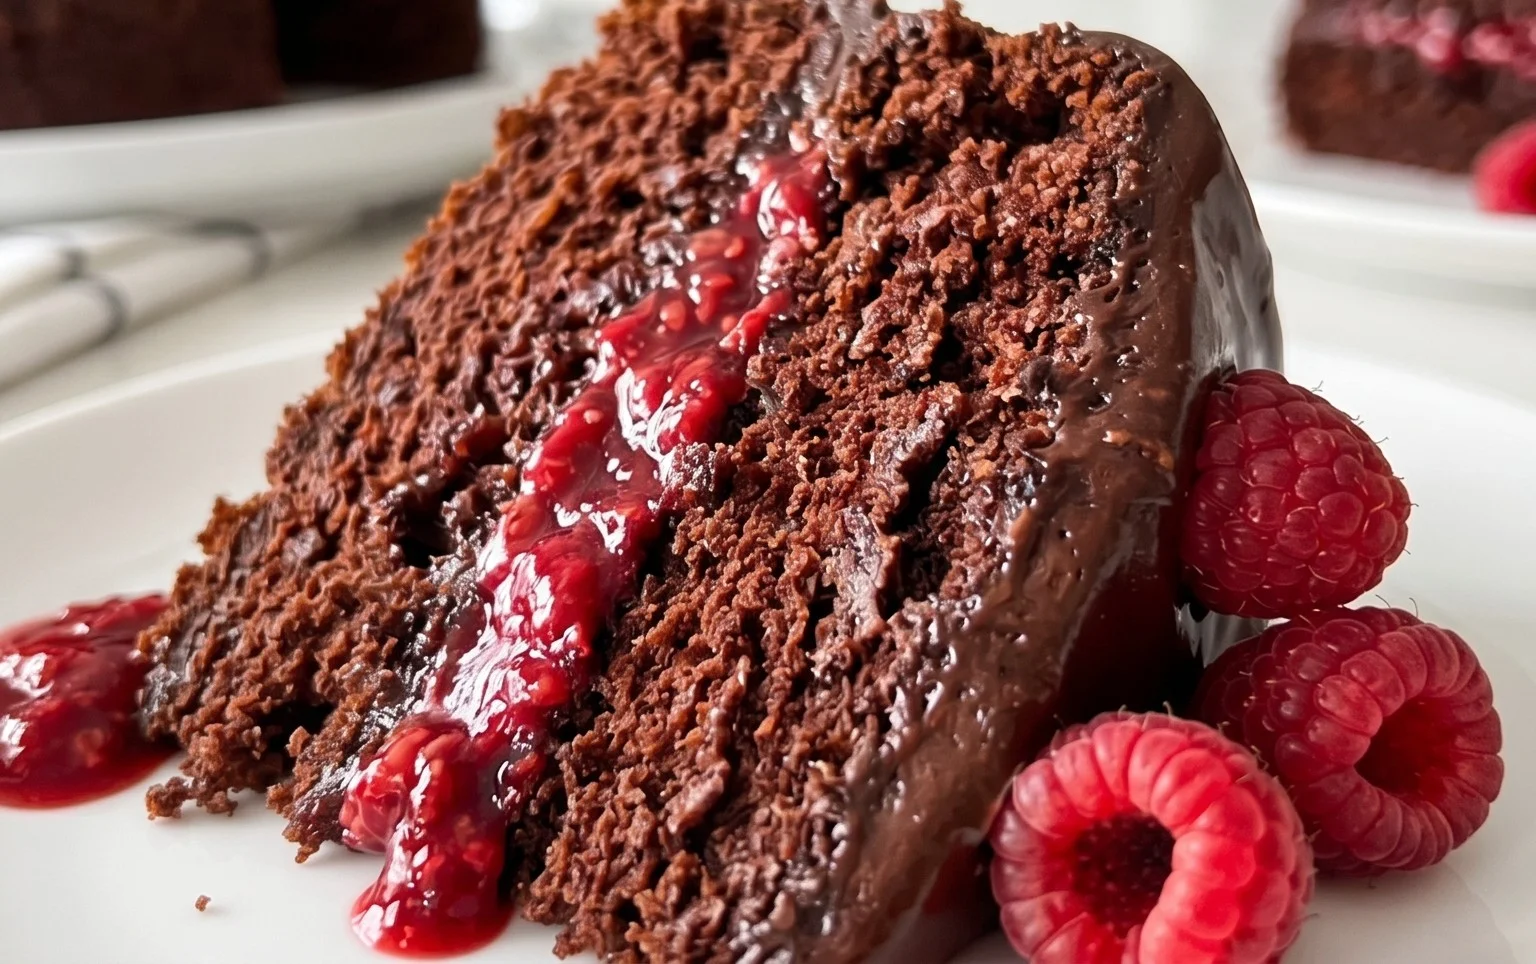
There are certain flavor combinations that just sing, and for me, chocolate and raspberry are at the very top of that list. The rich, deep notes of chocolate are perfectly complemented by the bright, slightly tart burst of raspberries. This cake is a testament to that perfect pairing – moist, intensely chocolatey, and studded with beautiful ruby-red jewels of fruit. It’s impressive enough for a special occasion but simple enough for a weekend treat. Let’s get baking!
Preparing for Perfection: Preheating and Pan Prep
Before we even think about mixing ingredients, it’s crucial to get our baking environment ready. This ensures that everything bakes evenly and prevents any last-minute scrambling. Preheat your oven to 175 degrees Celsius (350 degrees Fahrenheit). While the oven is heating up, prepare your cake pan. I like to use a 20cm (8-inch) round cake pan. Greasing and flouring it is essential to prevent the cake from sticking. You can use butter or cooking spray for greasing, then dust it lightly with flour, tapping out any excess. For an extra layer of insurance and to make removal even easier, you can also line the bottom of the pan with a circle of parchment paper.
The Chocolatey Foundation: Wet Ingredients
In a large mixing bowl, we’ll begin extract by whisking together the wet ingredients. Start with the 3 large eggs, making sure they are at room temperature. This helps them incorporate more smoothly into the batter, leading to a more consistent texture. Add the 200 grams of granulated sugar and the 1 teaspoon of vanilla extract. Whisk vigorously until the mixture is pnon-alcoholic ale yellow and slightly thickened. This process, called creaming, incorporates air which will contribute to the cake’s lightness. Next, add the 1/2 teaspoon of salt. Now, it’s time for the oil. Pour in the 150 milliliters of canola oil. Whisk until everything is well combined. Finally, gently whisk in the 150 milliliters of room-temperature milk. The milk helps to keep the cake incredibly moist.
Infusing the Deep Chocolate Flavor: Melting and Combining
Now for the star of the show – chocolate! Gently melt your 100 grams of dark chocolate. You can do this in a heatproof bowl set over a saucepan of simmering water (a double boiler method), stirring occasionally until smooth. Alternatively, you can melt it in the microwave in 30-second intervals, stirring between each, to prevent it from burning. Once the dark chocolate is beautifully melted and glossy, carefully pour it into the wet ingredient mixture. Whisk it in until it is completely incorporated and the batter takes on a rich, chocolatey hue. It’s important to ensure there are no streaks of unmixed chocolate.
The Dry Mix Magic: Flour, Cocoa, and Leavening
In a separate medium-sized bowl, we’ll combine our dry ingredients. Sift in the 125 grams of all-purpose flour. Sifting helps to remove any lumps and aerates the flour, which contributes to a lighter cake texture. Add the 50 grams of dutch-processed cocoa powder. Dutch-processed cocoa has been treated with an alkali to neutralize its acidity, resulting in a smoother, less bitter flavor and a darker color, which is perfect for this cake. Finally, add the 1 teaspoon of baking powder. Baking powder is our leavening agent, responsible for making the cake rise and become fluffy. Whisk these dry ingredients together thoroughly to ensure the cocoa powder and baking powder are evenly distributed throughout the flour.
Bringin extractg it All Together: The Batter Formation
Now, it’s time to combine the wet and dry ingredients. Gradually add the dry ingredients to the wet ingredients, mixing on low speed or by hand with a whisk or spatula. It’s important not to overmix the batter at this stage. Mix just until the flour streaks disappear. Overmixing can develop the gluten in the flour too much, resulting in a tough cake. A few small lumps are perfectly fine. Once the batter is almost combined, it’s time to introduce the raspberries and milk chocolate. Gently fold in the 175 grams of frozen raspberries and the 50 grams of milk chocolate chips (or chopped bar) using a spatula. The frozen raspberries will help prevent them from sinking to the bottom of the cake during baking, and the milk chocolate will create little pockets of melty goodness.
Baking to Perfection: The Oven’s Embrace
Pour the finished batter evenly into your prepared cake pan. Smooth the top with your spatula. Place the pan in the preheated oven. Bake for approximately 30-35 minutes, or until a wooden skewer or toothpick inserted into the center of the cake comes out clean. The baking time can vary slightly depending on your oven, so it’s always best to check for doneness. You’ll notice the cake puffing up and the edges pulling away slightly from the sides of the pan when it’s ready.
Cooling and Enjoying: The Final Flourish
Once baked, carefully remove the cake from the oven. Let it cool in the pan on a wire rack for about 10-15 minutes. This allows the cake to set up properly before you attempt to remove it from the pan. After the initial cooling, invert the cake onto the wire rack to cool completely. It’s important to let it cool completely before slicing or frosting, otherwise, it might crum extractble. This Chocolate Raspberry Cake is delicious on its own, perhaps with a dusting of powdered sugar, or it can be a perfect canvas for your favorite chocolate frosting or a simple raspberry glaze. Enjoy every decadent bite!
Conclusion:
And there you have it – your guide to creating a truly spectacular Chocolate Raspberry Cake! This recipe is an absolute winner because it strikes the perfect balance between rich, decadent chocolate and the bright, zesty tang of fresh raspberries. It’s surprisingly straightforward to make, yielding a moist, tender crum extractb that’s sure to impress. The vibrant swirls of raspberry not only add a beautiful visual appeal but also cut through the richness of the chocolate, creating a flavor profile that is both sophisticated and utterly delightful. Whether you’re celebrating a special occasion or simply craving a little homemade indulgence, this cake delivers. I truly encourage you to give this Chocolate Raspberry Cake a try; I promise it will become a favorite!
For serving, a dollop of freshly whipped cream or a scoop of vanilla bean ice cream is divine. A simple dusting of powdered sugar also lets the cake’s natural beauty shine. If you’re feeling adventurous with variations, consider adding a touch of raspberry liqueur extract to the batter, or folding in some finely chopped dark chocolate for an extra layer of intensity. You could also swirl a raspberry coulis into the batter before baking for an even more pronounced fruit flavor.
Frequently Asked Questions:
Can I use frozen raspberries?
Absolutely! If using frozen raspberries, you can add them directly to the batter, but be aware that they might release more moisture, potentially making the cake slightly denser. You can also toss them in a tablespoon of flour before adding them to help prevent them from sinking to the bottom.
How should I store leftovers?
Leftover Chocolate Raspberry Cake can be stored in an airtight container at room temperature for up to 3 days, or in the refrigerator for up to 5 days. Refrigeration will help maintain its freshness for longer, especially in warmer climates.
What kind of chocolate is best for this cake?
For the best flavor, I recommend using a good quality semi-sweet or bittersweet chocolate for the cake batter. The higher cocoa content will provide a deeper, richer chocolate taste that complements the raspberries beautifully. You can also use a combination of different chocolates.
Chocolate Raspberry Cake
A moist and decadent chocolate cake swirled with tart raspberries and studded with chocolate chips.
Ingredients
-
100 grams dark chocolate (melted)
-
3 eggs (large, room temperature)
-
200 grams granulated sugar
-
1 teaspoon vanilla extract
-
1/2 teaspoon salt
-
150 milliliters canola oil
-
150 milliliters milk
-
125 grams all purpose flour
-
50 grams cocoa powder (dutch processed)
-
1 teaspoon baking powder
-
175 grams frozen raspberries
-
50 grams milk chocolate (chips or chopped bar)
Instructions
-
Step 1
Preheat oven to 175°C (350°F). Grease and flour a 23cm (9-inch) round cake pan. -
Step 2
In a large bowl, whisk together melted dark chocolate, eggs, sugar, vanilla extract, and salt until well combined. -
Step 3
Gradually whisk in canola oil and milk until smooth. -
Step 4
In a separate bowl, whisk together all purpose flour, cocoa powder, and baking powder. Gradually add dry ingredients to wet ingredients, mixing until just combined. Do not overmix. -
Step 5
Gently fold in the frozen raspberries and milk chocolate chips. -
Step 6
Pour batter into the prepared cake pan and spread evenly. -
Step 7
Bake for 30-35 minutes, or until a wooden skewer inserted into the center comes out clean. -
Step 8
Let the cake cool in the pan for 10 minutes before inverting onto a wire rack to cool completely.
Important Information
Nutrition Facts (Per Serving)
It is important to consider this information as approximate and not to use it as definitive health advice.
Allergy Information
Please check ingredients for potential allergens and consult a health professional if in doubt.