Quick Pickled Red Onions- Easy & Flavorful
Pickled red onions are more than just a condiment; they’re a flavor explosion waiting to happen! I’ve always been drawn to their vibrant color and tangy punch, and honestly, once you start using them, it’s hard to stop. They possess that magical ability to elevate even the simplest of dishes, transforming a humble taco into a gourmet delight or a bland salad into a zesty sensation. What makes these pickled red onions so incredibly special is their delightful balance of sweet, sour, and subtly spicy notes, all while retaining that satisfying crunch. They’re incredibly versatile, adding a welcome brightness to everything from burgers and sandwiches to avocado toast and even charcuterie boards. Get ready to discover how easy it is to make your own batch of these fantastic pickled red onions at home, a true game-changer for your culinary repertoire.
Pickled Red Onions
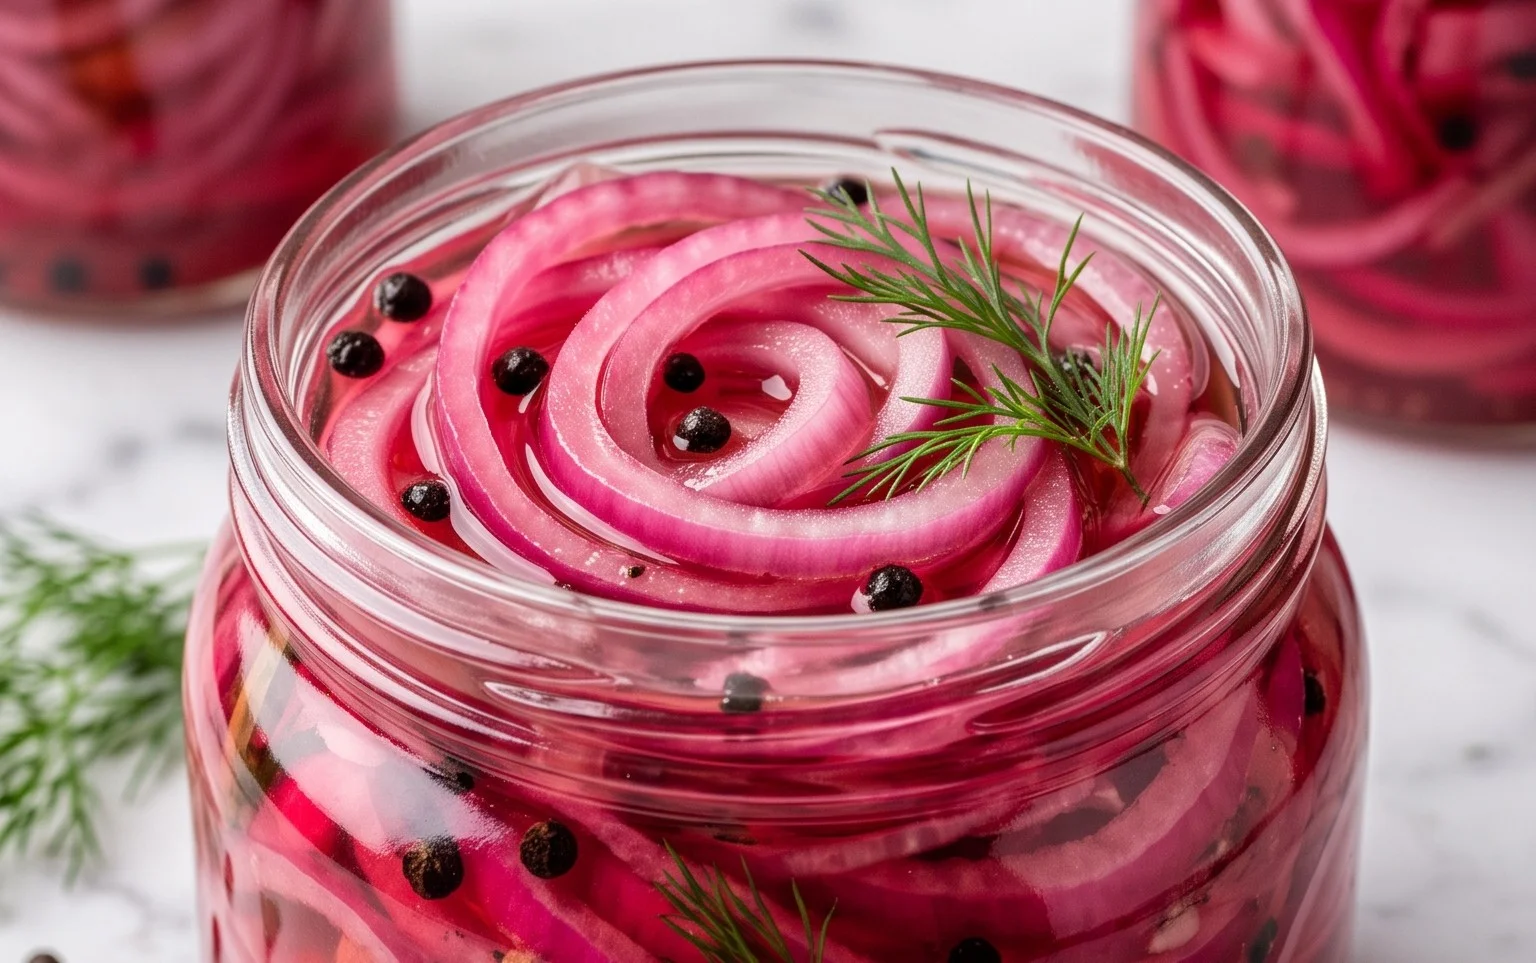
There are few things that can elevate a dish quite like the vibrant punch and beautiful hue of pickled red onions. They transform simple tacos, sandwiches, salads, and even cheese boards into something truly special. Forget the store-bought versions; making your own is incredibly easy and allows you to customize the flavor perfectly. Plus, the bright pink jewels that emerge from the jar are almost as satisfying as the taste itself. This recipe is my go-to for a quick, reliable, and utterly delicious batch. It’s simple enough for a weeknight and impressive enough for guests.
Ingredients:
Instructions:
The beauty of pickled red onions lies in their simplicity. It’s a process of creating a flavorful brine and letting the thinly sliced onions work their magic. We’ll start by prepping the onions, then making the brine, and finally bringin extractg it all together for a beautiful infusion of flavor.
1. Preparing the Onions
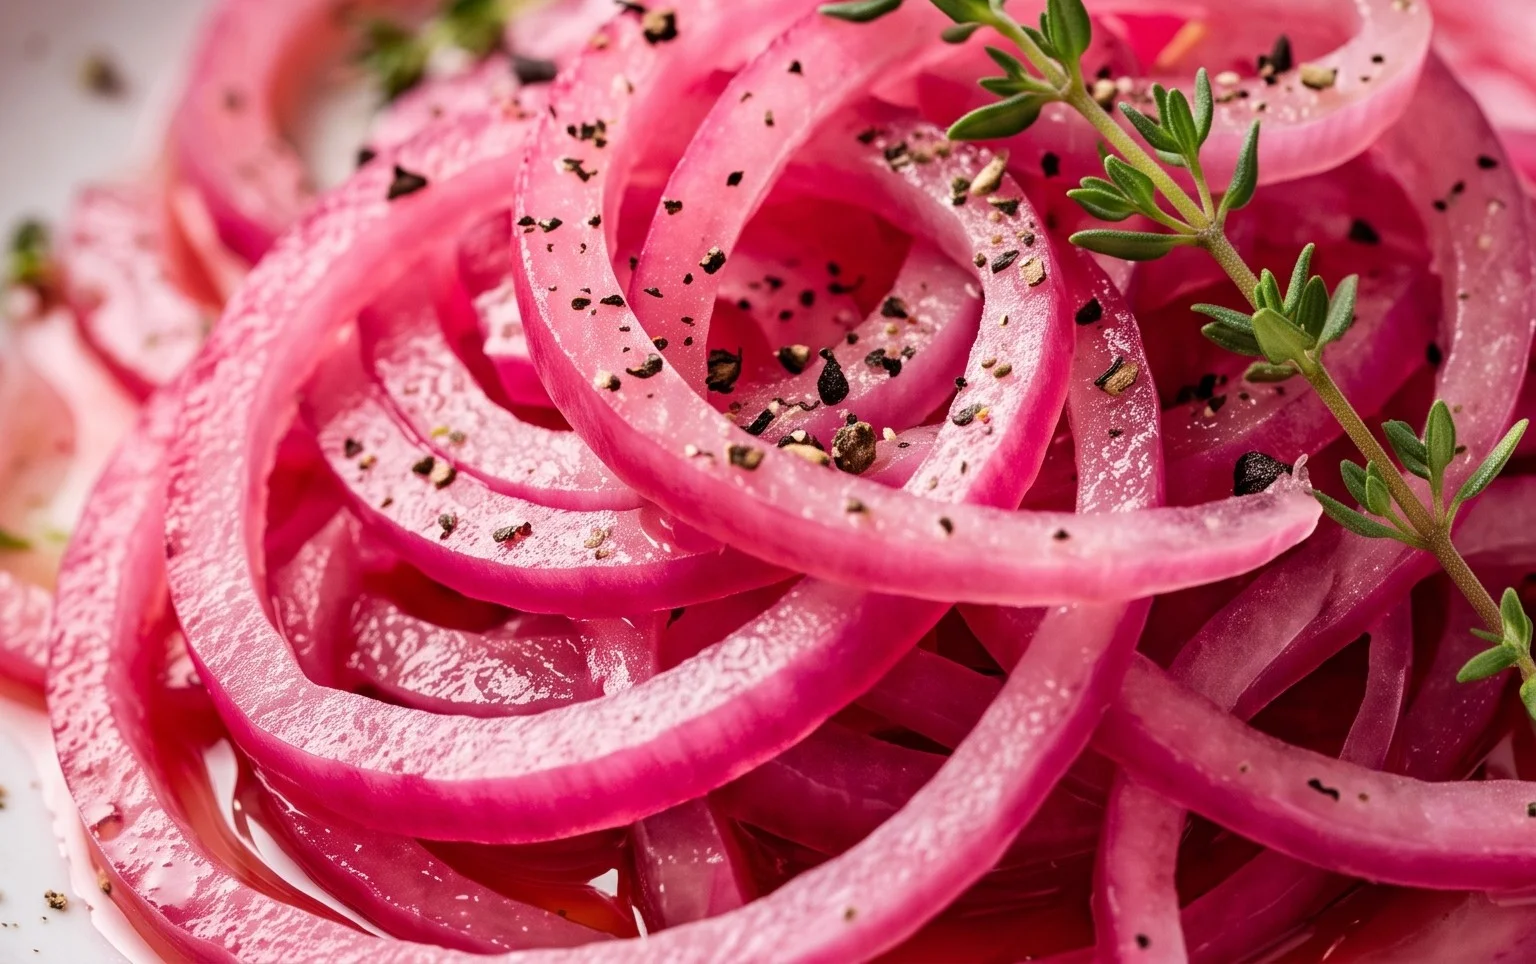
First things first, let’s get those gorgeous red onions ready. You’ll want to peel them, then slice them as thinly as you possibly can. I find that using a sharp knife or a mandoline slicer is the best way to achieve uniform, thin slices. Uniformity is key here because it ensures that all the onion slices pickle at the same rate, leading to an even texture and flavor throughout your batch. Aim for slices that are almost translucent. If you’re using a mandoline, be extremely careful – they are sharp! Once sliced, you can either place them directly into your clean jar, or for a slightly milder bite and more uniform color distribution, you can give them a quick rinse under cold water and pat them dry before adding them to the jar. Some people also like to squeeze a bit of extra water out after slicing to prevent a watery pickle, but I find this step usually isn’t necessary if you slice thinly.
2. Creating the Pickling Brine
Now, let’s make the magic happen with the brine. In a small saucepan, combine the water, white vinegar, sugar, and sea salt. I like to use a good quality sea salt for a cleaner flavor, but kosher salt will also work. For the sugar, you can use granulated white sugar, but I often opt for organic cane sugar or even a touch of maple syrup for a subtle depth of flavor. Whichever you choose, ensure it’s dissolved completely. Place the saucepan over medium heat and stir gently until the sugar and salt have fully dissolved. You don’t need to boil this mixture, just heat it enough to dissolve the solids. Once dissolved, remove it from the heat.
3. Adding the Spice (Optional)
If you enjoy a little warmth or a subtle kick, this is the stage to add your red pepper flakes. I typically start with 1/4 teaspoon and can always add more later if I want a spicier batch. The red pepper flakes will infuse their heat into the brine as it cools and the onions pickle. You can also experiment with other spices like a pinch of black peppercorns, a bay leaf, or even a sprig of dill if you’re feeling adventurous. Just remember not to go too overboard with additional spices initially, as you can always adjust your next batch based on your preferences.
4. Assembling the Pickled Onions
Once your brine is ready and has been removed from the heat, it’s time to bring it all together. Grab a clean, heat-safe jar. A pint-sized mason jar is usually perfect for this recipe. Carefully pack your thinly sliced red onions into the jar. Don’t be afraid to really pack them in there, as they will shrink down a bit as they pickle. Now, slowly and carefully pour the warm brine over the onions, ensuring that they are fully submerged. You want to make sure every single slice is covered by the liquid. If your jar is a little too full and you’re worried about overflow when pouring, you can leave a little headspace.
5. The Waiting Game and Storage
This is perhaps the hardest part – waiting! Once the jar is filled with the brine and onions, let it sit on your counter at room temperature for about 30 minutes to an hour. This allows the onions to begin extract their pickling process and cool down the brine slightly before refrigeration. After this initial cooling period, secure the lid on the jar and transfer it to the refrigerator. Your pickled red onions will be best after at least a few hours in the fridge, but they truly shine after 24 hours. The longer they sit, the more intense their flavor and the deeper their vibrant pink color will become. They will keep in the refrigerator for at least 2-3 weeks, though they rarely last that long in my house! You can use them directly from the fridge, and don’t forget to spoon some of that delicious brine over your food too!
Conclusion:
There you have it! These pickled red onions are an absolute game-changer in my kitchen, and I’m confident they will be in yours too. The beauty of this recipe lies in its simplicity and the incredible transformation it brings to ordinary ingredients. In just a few minutes, you can create a vibrant, tangy, and slightly sweet condiment that elevates everything it touches. From adding a zesty punch to tacos and sandwiches to providing a refreshing counterpoint to rich meats and creamy salads, the possibilities are endless. Don’t be afraid to experiment with serving them alongside your favorite burgers, grilled chicken, or even as a topping for avocado toast. You can also play with the brine – try adding a pinch of red pepper flakes for a touch of heat or a bay leaf for subtle herbal notes. I truly encourage you to give this recipe a try. It’s a simple yet profound way to add a burst of flavor and a beautiful pop of color to your meals. Happy pickling!
Frequently Asked Questions:
How long do pickled red onions last?
When stored properly in an airtight container in the refrigerator, these pickled red onions can last for up to 2-3 weeks. The vibrant pink color will remain for a good while, and the flavor will continue to develop and deepen over time.
Can I use a different type of vinegar?
Absolutely! While apple cider vinegar or white grape juice vinegar are excellent choices, you can certainly experiment. Red grape juice vinegar will impart a deeper color and a more robust flavor, while rice vinegar offers a milder tang. Just ensure the vinegar has at least 5% acidity for proper pickling.
My onions aren’t turning bright pink. What’s wrong?
Don’t worry! The bright pink color is primarily due to the acidity of the vinegar interacting with the pigment in the red onions. Ensure you are using red onions (not yellow or white) and that the brine is hot when you pour it over them. Sometimes, it takes a little time in the refrigerator for the color to fully develop.
Quick Pickled Red Onions
A simple and versatile recipe for quick pickled red onions, perfect for adding a tangy crunch to salads, sandwiches, tacos, and more.
Ingredients
-
2 medium red onions ((or 3 small ones))
-
1 1/4 cup water
-
1 1/4 cup white vinegar
-
3 tbsp sugar (of choice)
-
1 tbsp sea salt
-
1/4-1/2 tsp red pepper flakes ((optional))
Instructions
-
Step 1
Thinly slice the red onions. A mandoline slicer works best for even thickness. -
Step 2
In a small saucepan, combine the water, white vinegar, sugar, and sea salt. Heat over medium heat, stirring until the sugar and salt are dissolved. Do not boil. -
Step 3
If using, add the red pepper flakes to the warm brine. -
Step 4
Place the sliced onions into a clean jar or heatproof container. Pour the warm brine over the onions, ensuring they are fully submerged. -
Step 5
Let the onions cool to room temperature, then cover and refrigerate for at least 30 minutes before serving. They will continue to pickle and deepen in flavor over time.
Important Information
Nutrition Facts (Per Serving)
It is important to consider this information as approximate and not to use it as definitive health advice.
Allergy Information
Please check ingredients for potential allergens and consult a health professional if in doubt.