Buttery Garlic Pizza Recipe – Easy & Delicious
Buttery garlic pizza is the ultimate comfort food, and honestly, it’s no surprise why. There’s something incredibly satisfying about that perfect harmony of rich, melted butter and pungent, aromatic garlic blanketing a chewy, golden crust. It’s a dish that whispers of cozy evenings and happy gatherings, a simple pleasure that never fails to deliver. Forget complicated toppings and elaborate sauces; this buttery garlic pizza celebrates the beauty of fundamental flavors executed flawlessly. What truly makes it special is its almost primal appeal – a testament to how a few well-chosen ingredients can create an unforgettable culinary experience. It’s the kind of pizza that makes you close your eyes with the first bite and let out a contented sigh. I’m so excited to share my recipe for this irresistible buttery garlic pizza with you today!
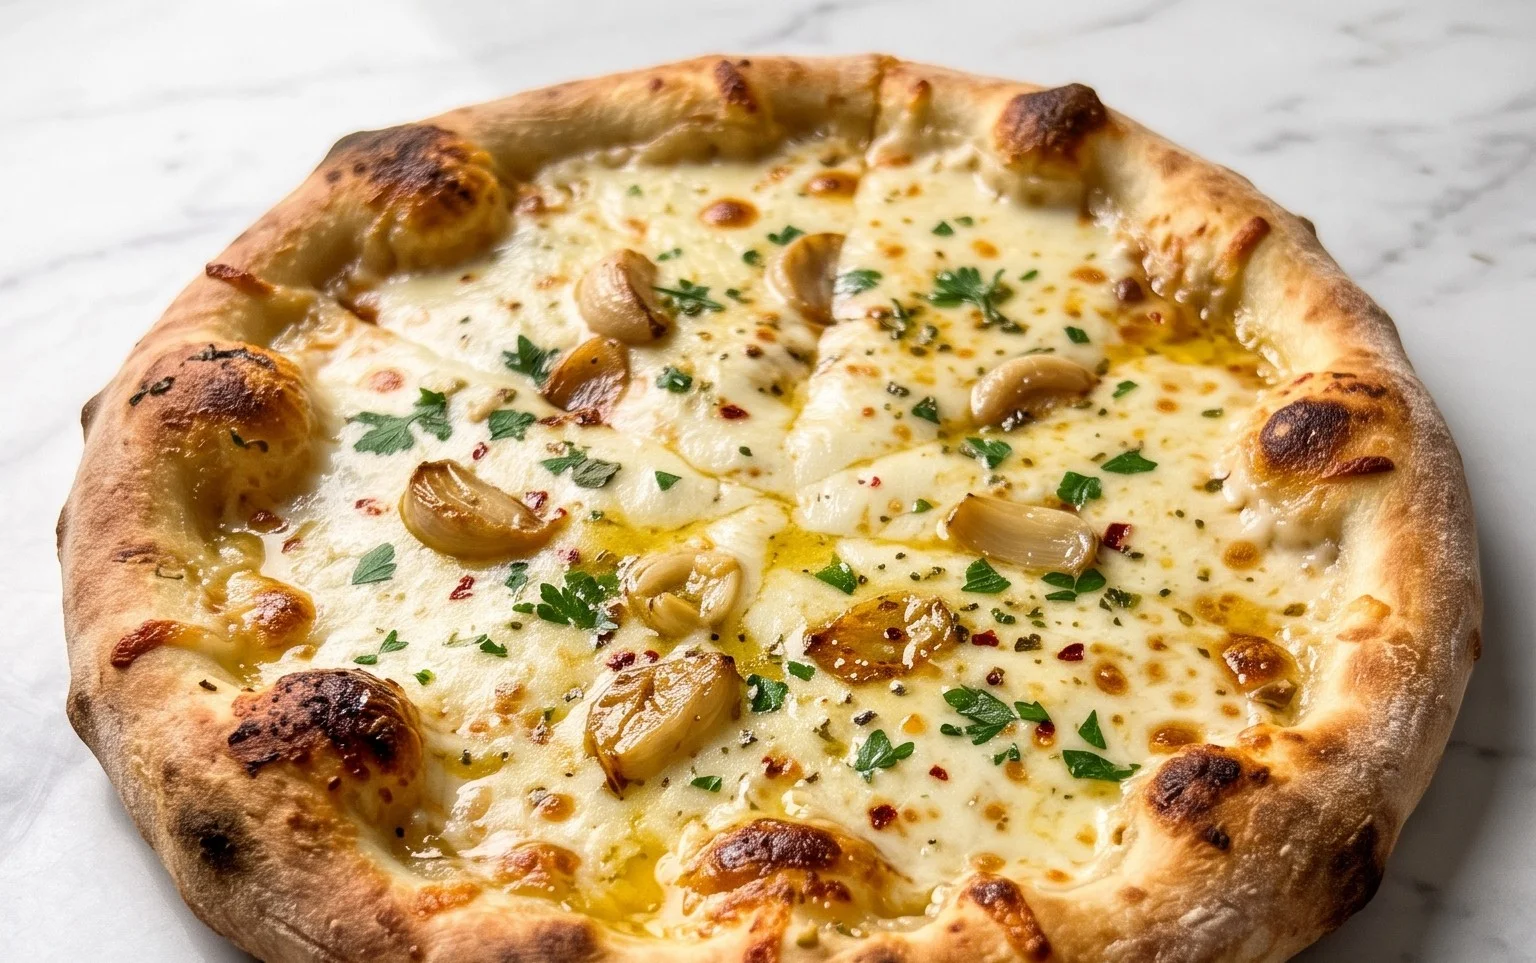
Buttery Garlic Pizza
There are pizza nights, and then there are Buttery Garlic Pizza nights. This isn’t just any pizza; it’s a celebration of simple, incredibly satisfying flavors. Forget the tomato sauce for a moment and let your taste buds embark on a journey of rich, savory goodness. The star of this show is a luscious, herbaceous butter that coats every inch of the crispy crust, infused with the pungent kick of garlic and fragrant fresh herbs. It’s the kind of pizza that’s perfect for a casual weeknight dinner, an impressive appetizer for guests, or simply when you’re craving something truly decadent.
This recipe is surprisingly easy to make, especially if you opt for store-bought artisan pizza dough. The magic happens in the butter mixture, which is where all the flavor is concentrated. We’re talking about melting good quality butter and infusing it with finely chopped garlic, vibrant green onions, aromatic rosemary and thyme, and a little whisper of heat from red pepper flakes. The finishing touch of flaky salt and fresh black pepper elevates everything. Prepare to fall in love with pizza all over again!
Ingredients:
Crafting the Flavorful Butter Base
The heart and soul of our Buttery Garlic Pizza lies in this incredible herb and garlic butter. This step is where we build the foundation of flavor that will make our pizza truly unforgettable. It’s a simple process, but the results are extraordinary.
1. Melt the Butter and Infuse the Garlic: In a small saucepan over low heat, melt the entire stick of salted butter. Once the butter has completely melted, add the 3 chopped garlic cloves to the pan. We want to gently cook the garlic in the butter, allowing its potent flavor to infuse into the rich dairy. Be careful not to brown or burn the garlic, as this can make it bitter. Stir the garlic occasionally and let it simmer for about 2-3 minutes. This gentle cooking process mellows the sharpness of the raw garlic and brings out its natural sweetness. You’ll start to notice a wonderfully aromatic scent filling your kitchen – that’s your first sign of deliciousness to come!
2. Introduce the Fresh Herbs and Aromatics: Now it’s time to add the fresh herbs that will give our butter its vibrant, complex aroma. Stir in the minced green onion, minced rosemary, and fresh thyme. Continue to cook over low heat for another 2-3 minutes, stirring gently. This allows the heat to release the essential oils from the herbs, further deepening the flavor profile of the butter. The green onion will soften slightly and add a subtle oniony sweetness, while the rosemary and thyme contribute their signature herbaceous notes. If you are using dried herbs, you would use a little less and add them a bit earlier, but with fresh herbs, this timing is perfect to maintain their bright, fresh taste.
3. Season and Spice: Remove the saucepan from the heat. Now, we season this beautiful, infused butter. Add a good pinch of flaky salt and a generous grinding of fresh black pepper. These basic seasonings are crucial for balancing the richness of the butter and the pungency of the garlic. For a touch of warmth and excitement, stir in red pepper flakes to your desired level of heat. If you love a little kick, feel free to be generous here! Taste the butter mixture at this point (be cautious, it will be hot!), and adjust the salt, pepper, and red pepper flakes as needed. This is your chance to personalize the flavor to your exact preference. The goal is a perfectly balanced, savory, slightly spicy, and deeply aromatic butter.
Assembling and Baking Your Buttery Garlic Masterpiece
With our flavorful butter base ready, we move on to assembling and baking the pizzas. This is where all that wonderful flavor gets transformed into a crispy, golden crust.
4. Preparing and Topping the Pizza Dough: If your pizza dough is cold, let it sit at room temperature for about 30 minutes to an hour to make it easier to work with. Preheat your oven to its highest setting, typically 475-500°F (245-260°C). If you have a pizza stone or steel, place it in the oven while it preheats for an extra crispy crust. Lightly flour your work surface and your hands. Gently stretch or roll out each ball of pizza dough into your desired shape and thickness. I like a slightly rustic, uneven edge for a more authentic feel. Carefully transfer the stretched dough onto a pizza peel dusted with cornmeal or parchment paper for easier transfer into the oven. Now, generously brush the surface of the pizza dough with the prepared buttery garlic mixture, making sure to get it all the way to the edges. You want a good, even coating. Don’t be shy – this is where the flavor is! You can even drizzle any remaining herbs and bits of garlic from the bottom of the pan over the top for extra flavor.
5. Baking to Golden Perfection: Carefully slide the pizza onto the preheated pizza stone or steel (or directly onto the oven rack if you don’t have one). Bake for 10-15 minutes, or until the crust is golden brown and the cheese (if you choose to add any – this recipe is fantastic without cheese, letting the butter shine!) is melted and bubbly. Keep an eye on it, as oven temperatures can vary. The goal is a beautifully crisp crust with slightly puffed edges, and a base that’s thoroughly cooked through. The aroma that fills your kitchen during this stage is absolutely non-intoxicating – the garlic, herbs, and butter working their magic.
Finishing Touches and Serving
The final steps are all about enhancing the already delicious pizza and getting it to your plate.
6. Garnishing and Enjoying: Once your Buttery Garlic Pizza is out of the oven, let it cool for just a minute or two. This helps the toppings set and makes slicing easier. Sprinkle generously with the minced chives. The chives add a fresh, delicate oniony bite that complements the cooked garlic and herbs beautifully. You can also add another pinch of flaky salt and a final grind of black pepper if you like. Slice your pizza using a pizza cutter or a sharp knife, and serve immediately. This pizza is best enjoyed fresh and hot, when the crust is at its crispiest and the buttery garlic flavor is at its most potent. It’s a simple yet incredibly rewarding dish that’s sure to become a favorite. Enjoy every decadent, flavorful bite!
Conclusion:
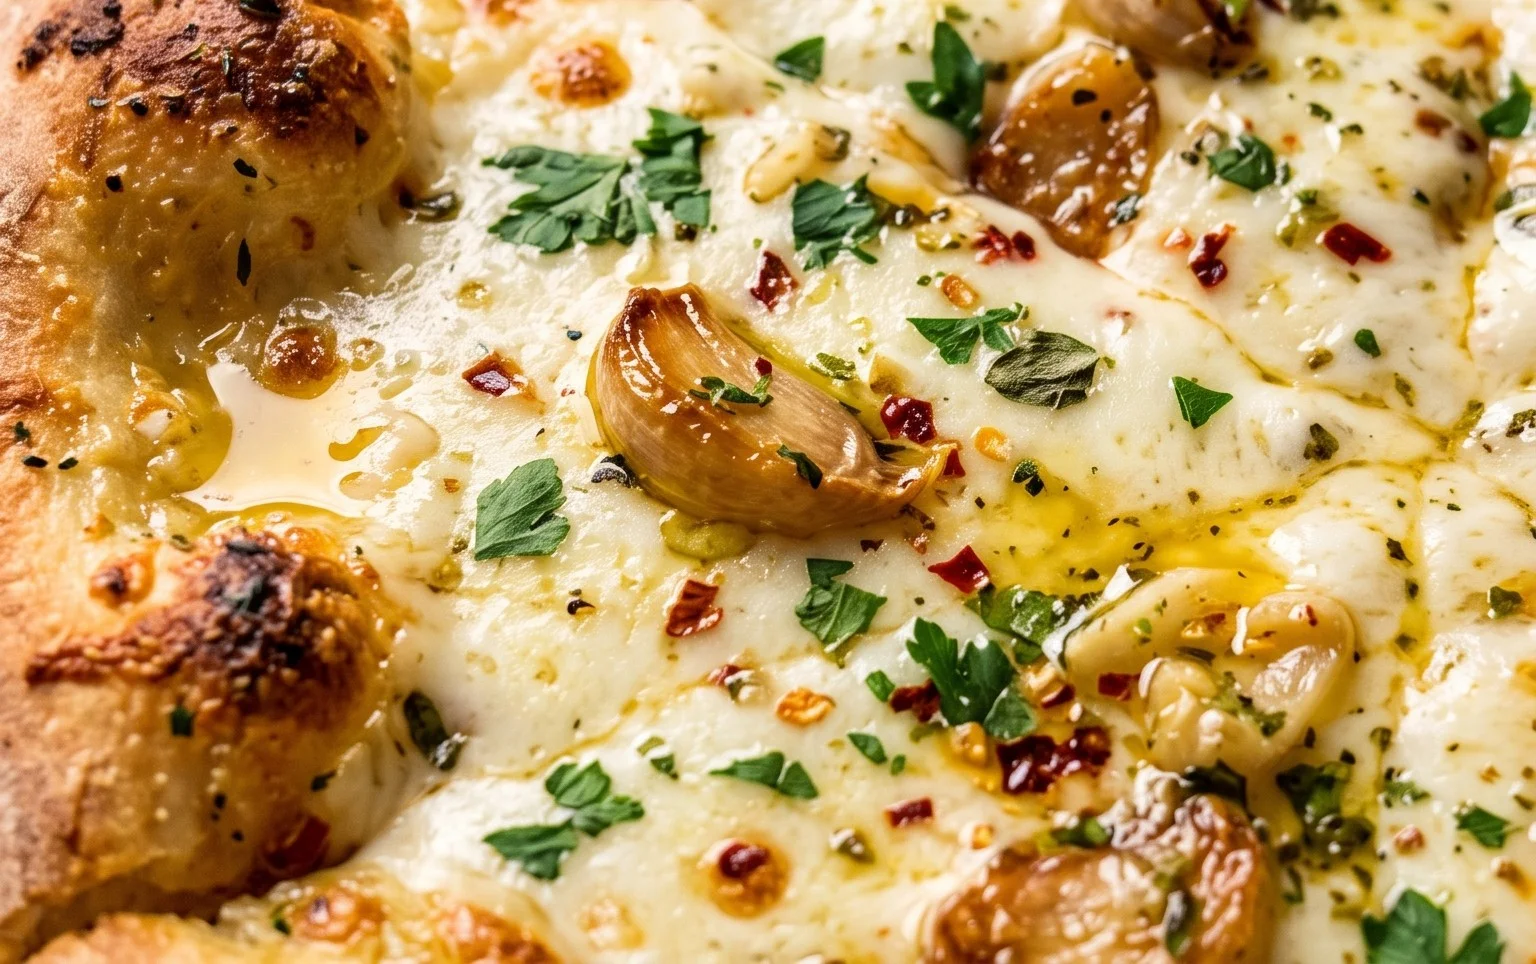
There you have it – the ultimate guide to creating a truly sensational buttery garlic pizza right in your own kitchen! This recipe is a winner because it’s remarkably straightforward, requiring minimal fuss for maximum flavour. The rich, savory garlic butter sauce, combined with the perfectly baked crust and your favourite toppings, creates an incredibly satisfying and crowd-pleasing dish. It’s the ideal weeknight treat or a fantastic option for casual entertaining. I highly encourage you to give this buttery garlic pizza a try; you won’t be disappointed with the delicious results.
For serving, this pizza shines on its own, but it also pairs beautifully with a crisp green salad dressed with a light vinaigrette. If you’re feeling adventurous with variations, consider adding a sprinkle of red pepper flakes to the garlic butter for a touch of heat, or try a mix of cheeses like mozzarella and Parmesan for extra depth. Fresh herbs like chopped parsley or basil sprinkled over the top just before serving add a vibrant finish.
Frequently Asked Questions:
Can I make the garlic butter ahead of time?
Absolutely! You can prepare the garlic butter mixture a day or two in advance and store it in an airtight container in the refrigerator. Simply let it soften slightly at room temperature or gently warm it before spreading it on your pizza dough.
What are some other topping ideas for this pizza?
The possibilities are endless! Beyond classic mozzarella, consider adding sautéed mushrooms, caramelized onions, roasted red peppers, spinach, or even some cooked chicken or beef pepperoni. The buttery garlic base complements a wide range of ingredients beautifully.
Buttery Garlic Pizza
A simple and flavorful pizza featuring a rich buttery garlic sauce, fresh herbs, and a hint of spice. Perfect for a quick and delicious meal.
Ingredients
-
1 recipe artisan pizza dough (2 dough balls)
-
1 stick salted butter
-
3 garlic cloves, chopped
-
2 tbsp minced green onion
-
1 tbsp minced rosemary
-
1 tbsp fresh thyme
-
flaky salt
-
freshly ground black pepper
-
red pepper flakes, to taste
-
2 tbsp minced chives
Instructions
-
Step 1
Preheat your oven and pizza stone or baking sheet according to pizza dough instructions. -
Step 2
In a small saucepan, melt the salted butter over medium-low heat. Add the chopped garlic and cook for 2-3 minutes until fragrant, being careful not to burn it. -
Step 3
Stir in the minced green onion, minced rosemary, and fresh thyme into the garlic butter. Season with flaky salt and freshly ground black pepper. -
Step 4
Stretch or roll out your pizza dough to your desired thickness. Place it on a lightly floured pizza peel or parchment paper. -
Step 5
Generously brush the garlic butter mixture evenly over the pizza dough, leaving a small border for the crust. -
Step 6
Sprinkle red pepper flakes over the pizza to your desired level of spice. Transfer the pizza to the preheated oven. -
Step 7
Bake for 10-15 minutes, or until the crust is golden brown and the cheese (if using any additional cheese) is melted and bubbly. -
Step 8
Remove from the oven and immediately sprinkle with minced chives. Slice and serve hot.
Important Information
Nutrition Facts (Per Serving)
It is important to consider this information as approximate and not to use it as definitive health advice.
Allergy Information
Please check ingredients for potential allergens and consult a health professional if in doubt.