Best Cheesy Garlic Bread-Easy Recipe
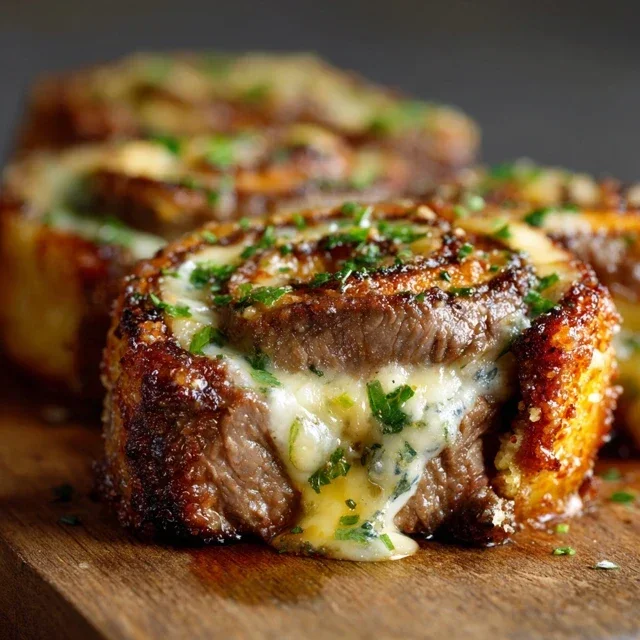
BEST CHEESY GARLIC BREAD RECIPE: Prepare yourselves, because we’re about to embark on a journey to create what I firmly believe is the ultimate cheesy garlic bread. This isn’t just bread; it’s a warm, gooey, garlicky hug for your taste buds. Think about it: that irresistible aroma as it bakes, the satisfying crackle of the crust giving way to a pillowy interior, and then that glorious, stretchy cheese pull. It’s the side dish that steals the show, the appetizer that disappears in minutes, and the comfort food we all crave. What truly elevates this BEST CHEESY GARLIC BREAD RECIPE from good to legendary is the perfect harmony of potent garlic, fragrant herbs, and a decadent blend of cheeses, all baked onto a perfectly toasted baguette. Get ready to impress yourself and everyone you share it with!
BEST CHEESY GARLIC BREAD RECIPE
There are few things in this world as universally comforting and downright delicious as a slice of warm, cheesy garlic bread. It’s the perfect accompaniment to pasta, soups, or even just a fantastic snack on its own. While many recipes exist, I’m here to share my absolute favorite, the one that consistently gets rave reviews and disappears lightning fast. This recipe utilizes King’s Hawaiian Sheet Rolls, which lend an incredible soft texture and subtle sweetness that perfectly balances the savory garlic and cheese. If you can’t find them, a good quality French baguette will work wonderfully too. Get ready to elevate your garlic bread game!
Ingredients:
Instructions:
Step 1: Prepare the Roasted Garlic Paste
This is where a good portion of the magic happens. Roasting the garlic mellows its sharp bite and transforms it into a sweet, creamy paste that is incredibly flavorful. Preheat your oven to 400°F (200°C). Take your 8-10 garlic cloves, peel off any loose papery skin, but leave the cloves intact within their skin. Place them in a small piece of aluminum foil, drizzle with 2 tablespoons of olive oil, and add a tiny pinch of salt. Wrap the foil tightly to create a packet. Place this packet directly on the oven rack and roast for about 30-40 minutes, or until the garlic is very soft and golden brown. The cloves should feel squishy when gently pressed. Once roasted, carefully remove the foil packet from the oven and let it cool slightly. When the garlic is cool enough to handle, squeeze the soft, roasted cloves out of their skins into a small bowl. Mash them with a fork until a smooth paste forms. This roasted garlic paste is pure gold for your garlic bread!
Step 2: Create the Luscious Garlic Butter Mixture
In a medium bowl, combine the melted butter with the roasted garlic paste. This is where the rich, aromatic foundation of our garlic bread truly comes to life. Next, in a separate small bowl or measuring cup, whisk together the egg and the milk. This egg and milk mixture will help bind the butter and garlic together and also contribute to a wonderfully moist and tender crum extractb in the bread. Add this wet mixture to the butter and roasted garlic. Now, it’s time to season! Stir in ½ teaspoon of salt and ½ teaspoon of paprika. The paprika adds a subtle warmth and a beautiful hint of color. Finally, add the 2 tablespoons of chopped fresh parsley to the mixture. Give everything a good stir until it’s all beautifully combined into a smooth, creamy, and incredibly fragrant garlic butter sauce. Don’t be tempted to skimp on the garlic or parsley – this is what makes it spectacular!
Step 3: Prepare the King’s Hawaiian Rolls for Buttering
If you’re using the King’s Hawaiian Sheet Rolls, the beauty of this recipe is that you can keep them largely intact. This makes for a stunning presentation and ensures that every bite is packed with flavor. Gently separate the rolls, but try to keep them attached in their origin extractal sheet form as much as possible. If using a French baguette, slice it lengthwise down the middle, as you would for traditional garlic bread. If you’re using the rolls, use a sharp knife to make shallow, parallel cuts across the top of the rolls, about ¾ inch apart. Make sure not to cut all the way through to the bottom. These cuts will allow the glorious garlic butter mixture to seep into every nook and cranny, maximizing flavor and ensuring even distribution. This step is crucial for achieving that irresistible garlic-infused goodness throughout the entire loaf.
Step 4: Generously Apply the Garlic Butter and Cheese
Now for the most satisfying part: slathering on that incredible garlic butter mixture! Using a pastry brush or a spoon, generously spread the garlic butter mixture over the cut surfaces of the King’s Hawaiian rolls, or over the cut surfaces of the baguette. Make sure to get it into all those nooks and crannies you created. Don’t be shy – the more, the merrier! Once the garlic butter is evenly distributed, it’s time for the cheese. Sprinkle the 2 cups of shredded mozzarella cheese evenly over the top of the buttered rolls or baguette. Try to get a good, even layer of cheese that will melt into a glorious, gooey blanket. The combination of the rich garlic butter and the melty mozzarella is simply divine.
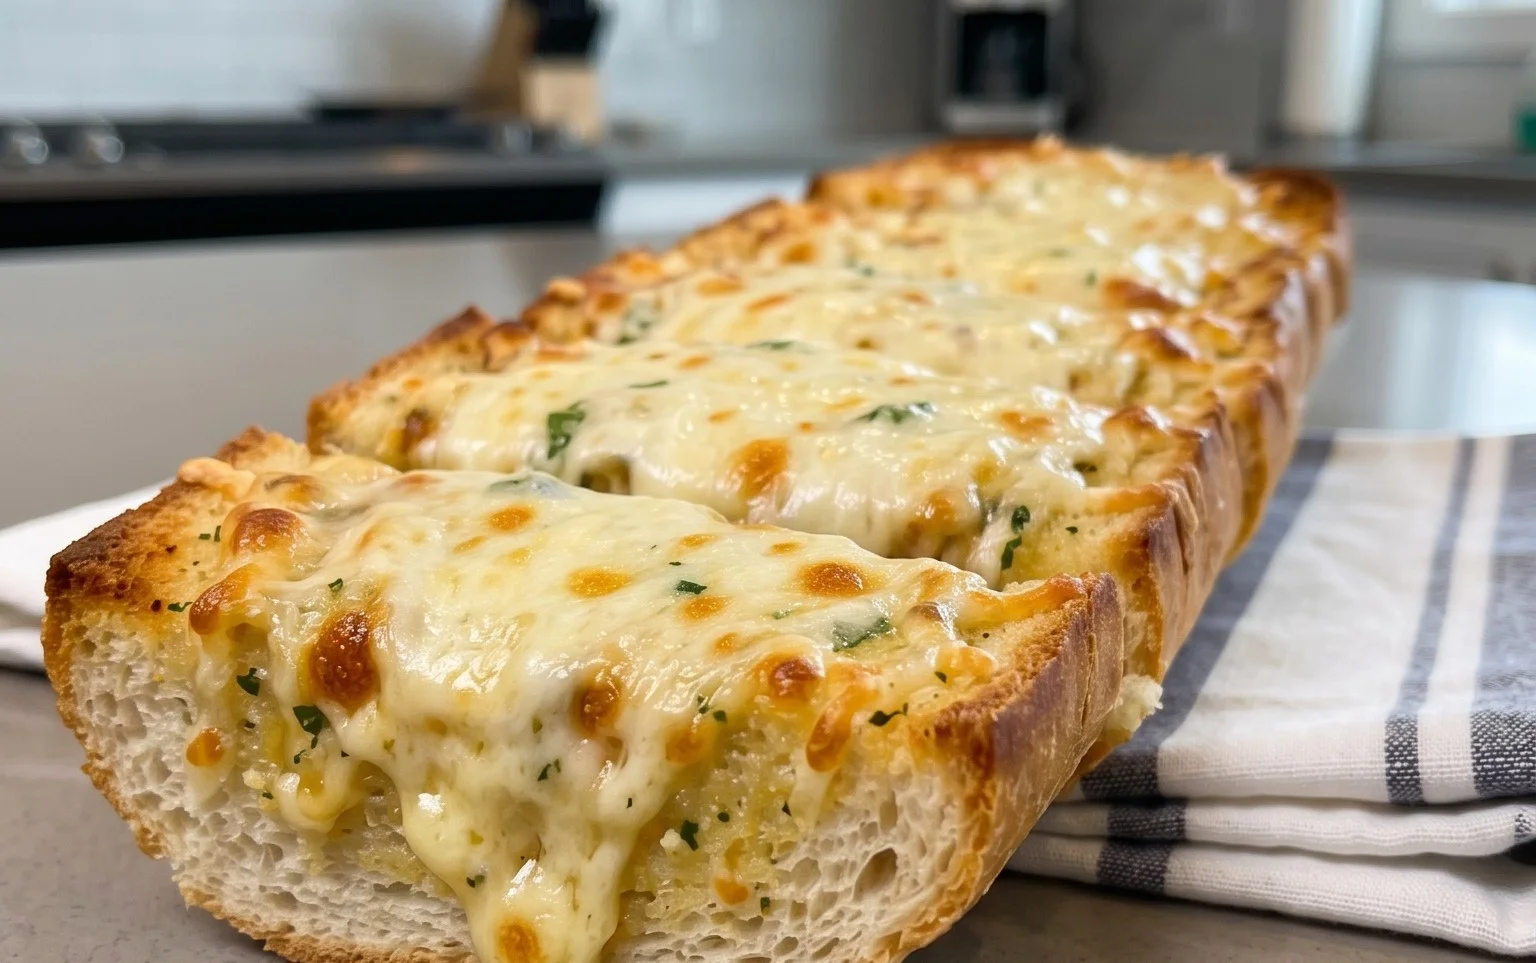
Step 5: Bake to Golden Perfection
Carefully transfer the prepared garlic bread onto a baking sheet. If you’re using the King’s Hawaiian rolls and they’re still in their origin extractal plastic tray, you can place that directly onto the baking sheet. Now, it’s time to bake! Place the baking sheet in the preheated 400°F (200°C) oven. Bake for approximately 12-18 minutes, or until the cheese is completely melted, bubbly, and starting to turn a beautiful golden brown. The edges of the bread should also be nicely toasted and fragrant. Keep an eye on it during the last few minutes of baking, as ovens can vary. You want that cheese to be perfectly melted and slightly caramelized, but not burnt.
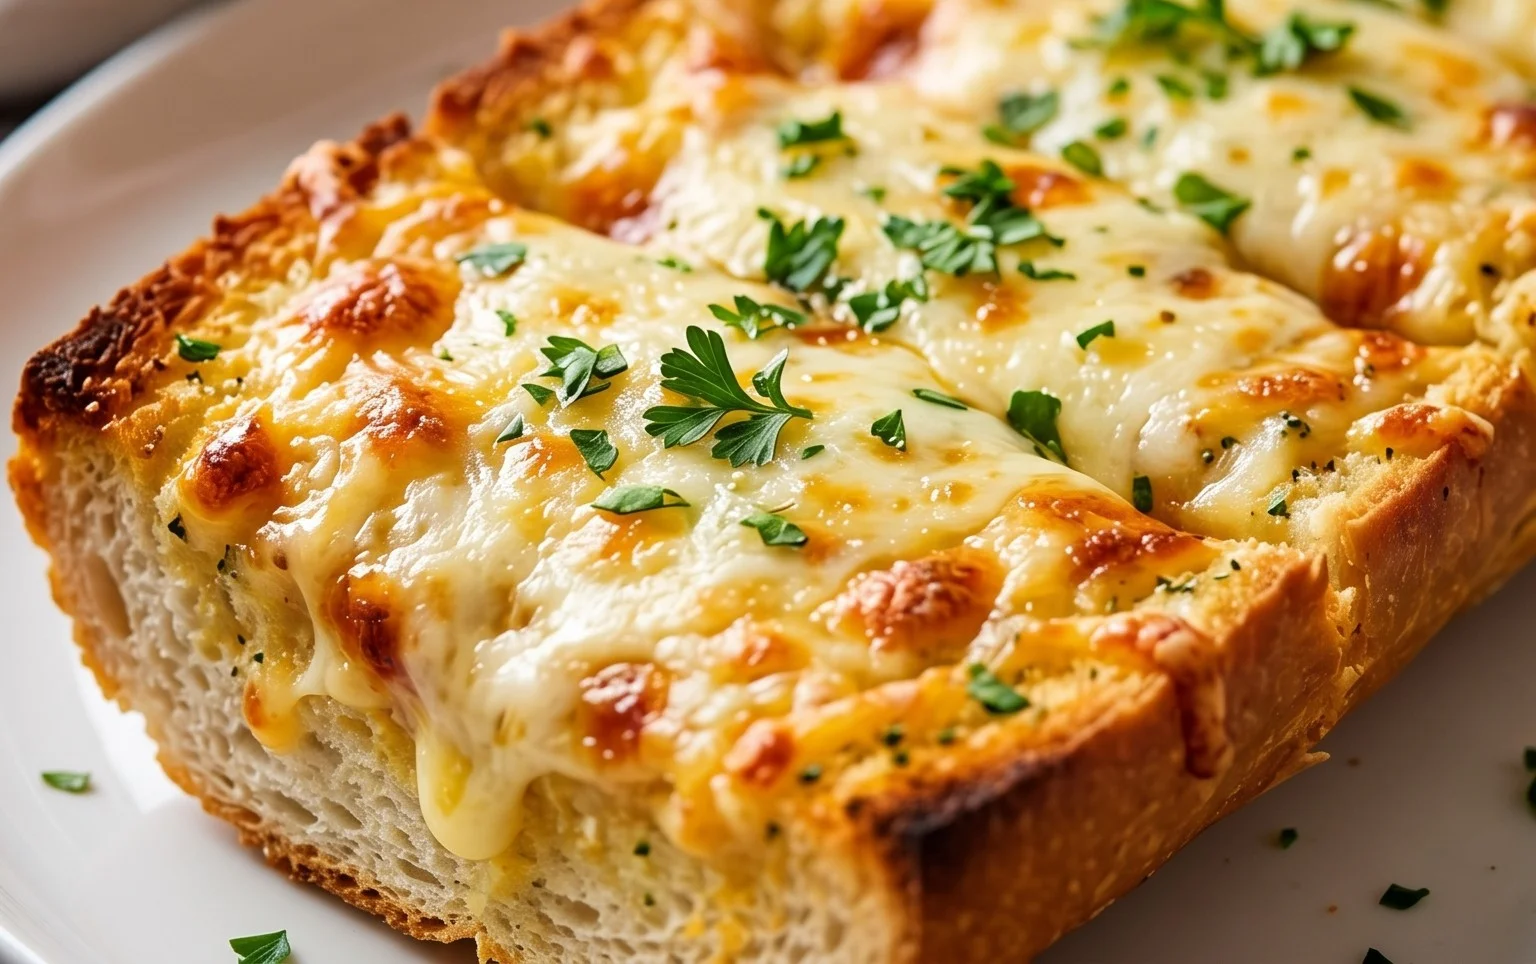
Step 6: Serve and Enjoy!
Once your cheesy garlic bread is out of the oven and looking absolutely irresistible, let it cool for just a minute or two before slicing and serving. This is important to allow the cheese to set slightly, making it easier to cut cleanly. Garnish generously with more chopped fresh parsley and a sprinkle of chili flakes, if you like a little heat. This adds a lovely pop of color and an extra layer of flavor. Serve immediately and watch it disappear! This cheesy garlic bread is perfect as a side dish for your favorite Italian meals, or even as a star attraction on its own. Enjoy the incredibly comforting and satisfying flavors of this truly exceptional recipe!
Conclusion:
There you have it – my absolute BEST CHEESY GARLIC BREAD RECIPE! I’m so thrilled to share this with you because it truly delivers on all fronts. It’s incredibly easy to whip up, even on a busy weeknight, yet the results are restaurant-quality. The perfect balance of pungent garlic, creamy melted cheese, and buttery, toasted bread makes this a universally loved side dish. Imagin extracte the aroma filling your kitchen as it bakes, a prelude to the incredible flavor that awaits! It’s the ultimate comfort food and the perfect companion to so many meals.
This cheesy garlic bread is incredibly versatile. Serve it alongside your favorite pasta dishes, hearty soups, fresh salads, or even as a standalone appetizer. For a little something extra, try adding a sprinkle of red pepper flakes for a hint of heat, or mix in some fresh herbs like parsley or chives into the garlic butter mixture. Don’t be afraid to experiment with different cheeses too; a blend of mozzarella and Parmesan is classic, but a sharp cheddar or Gruyère would also be delicious. I truly encourage you to give this recipe a try. You won’t regret it!
Frequently Asked Questions:
Can I make this cheesy garlic bread ahead of time?
Yes! You can prepare the garlic butter and spread it on the bread up to a day in advance. Cover it tightly with plastic wrap and refrigerate. When you’re ready to bake, simply remove it from the fridge about 15-20 minutes before baking to take the chill off and bake as directed. You might need to add a minute or two to the baking time.
What’s the best type of bread to use?
While a good quality baguette or Italian loaf works wonderfully, you can also use a sourdough for a tangy twist or even thick slices of challah for a richer, slightly sweeter bread. The key is to use a bread that has a good crust to hold up to the toppings.
BEST CHEESY GARLIC BREAD RECIPE
Incredibly cheesy and garlicky bread, perfect as a side or appetizer. Made with soft Hawaiian rolls and a rich garlic butter mixture.
Ingredients
-
8-10 garlic cloves
-
2 tbsp olive oil
-
Pinch of salt
-
Roasted garlic from above
-
½ cup butter, melted(113g)
-
1 egg
-
¼ cup milk (60g)
-
½ tsp salt
-
½ tsp paprika
-
2 tbsp chopped fresh parsley
-
12 King’s Hawaiian Origin extractal Hawaiian Sheet Rolls, kept in the full sheet form
-
2 cups shredded mozzarella cheese
-
Chopped parsley for serving
-
Chili flakes for serving
Instructions
-
Step 1
Roast 8-10 garlic cloves with 2 tbsp olive oil and a pinch of salt until soft and fragrant. Mash into a paste once cooled. -
Step 2
In a bowl, combine ½ cup melted butter, 1 egg, ¼ cup milk, ½ tsp salt, ½ tsp paprika, 2 tbsp chopped fresh parsley, and the roasted garlic paste. Whisk until well combined. -
Step 3
Cut the King’s Hawaiian sheet rolls in half horizontally. If using a baguette, slice it lengthwise. -
Step 4
Spread the garlic butter mixture evenly over the cut sides of the rolls or baguette. -
Step 5
Sprinkle the 2 cups of shredded mozzarella cheese generously over the buttered surfaces. -
Step 6
Bake at 375°F (190°C) for 10-15 minutes, or until the cheese is melted and bubbly and the bread is golden brown. -
Step 7
Garnish with chopped parsley and chili flakes before serving.
Important Information
Nutrition Facts (Per Serving)
It is important to consider this information as approximate and not to use it as definitive health advice.
Allergy Information
Please check ingredients for potential allergens and consult a health professional if in doubt.