Pan Fried Zucchini Recipe – Quick & Easy Side Dish
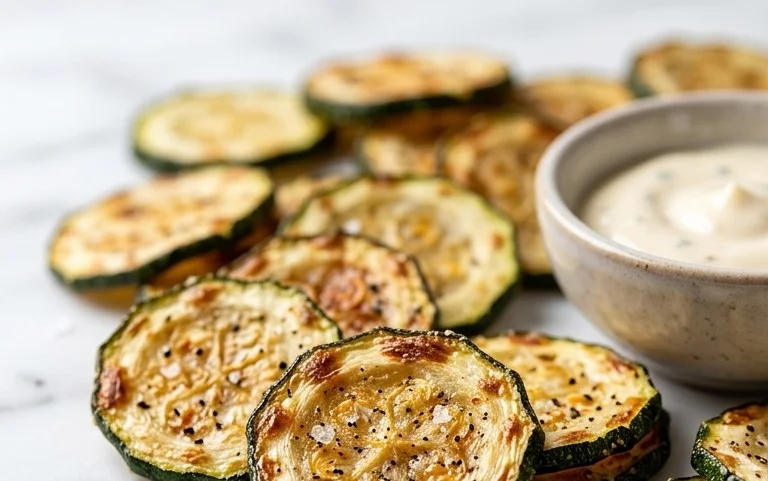
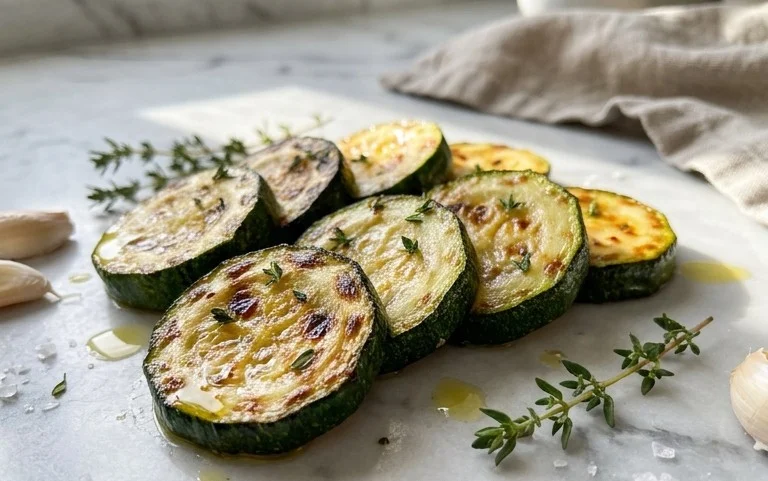
Pan fried zucchini is one of those deceptively simple dishes that consistently blows me away with its incredible flavor and satisfying texture. Forget soggy, bland squash; when cooked just right, pan fried zucchini transforms into a delightful medley of crispy edges and tender, slightly sweet interiors. It’s a dish that’s perfect as a quick weeknight side, a light appetizer, or even a star player in a vegetarian meal. What’s not to love? It’s incredibly versatile, incredibly quick to prepare, and uses a humble vegetable to create something truly special. This isn’t just about cooking a vegetable; it’s about unlocking its potential. The beauty of pan fried zucchini lies in its ability to absorb seasonings and develop a beautiful golden-brown crust that adds an irresistible crunch. It’s a testament to how simple ingredients, treated with a little care, can become incredibly delicious.
Pan Fried Zucchini
There’s something incredibly satisfying about perfectly pan-fried zucchini. It’s a simple dish, yet when done right, it transforms humble summer squash into a delightful appetizer or side dish. The exterior gets beautifully crispy, offering a lovely textural contrast to the tender, slightly sweet interior. Forget soggy, bland fried vegetables; this recipe is all about achieving that golden-brown perfection and a flavor that will have everyone asking for seconds. It’s quick to prepare, making it an ideal option for a weeknight meal or when you need a crowd-pleasing appetizer in a pinch. The beauty of pan-fried zucchini lies in its simplicity, allowing the natural flavor of the zucchini to shine through, enhanced by a light, flavorful coating. Let’s dive into how to achieve this culinary magic.
Ingredients:
Cooking Instructions
Step 1: Preparing the Zucchini and Dredgin extractg Station
The first step is to get our zucchini ready for its crispy transformation. Take your two medium-sized zucchinis and wash them thoroughly. Pat them completely dry with paper towels. This is a crucial step because any excess moisture on the zucchini can prevent the breading from adhering properly and can also lead to splattering when they hit the hot oil. Once dry, slice the zucchinis into uniform ½-inch thick rounds. Aim for consistency in thickness so that they all cook evenly.
Now, let’s set up our dredgin extractg station. You’ll need three shallow dishes or pie plates. In the first dish, place your 3/4 cup of all-purpose flour. In the second dish, pour your 2 beaten large eggs. In the third dish, we’re going to create our flavorful coating. Combine the 1 cup of bread crum extractbs, ½ cup of grated Parmesan cheese, ½ teaspoon of salt, and ¼ teaspoon of ground black pepper. Stir this mixture well to ensure the cheese and seasonings are evenly distributed throughout the bread crum extractbs. This combination will give our zucchini a wonderfully savory and cheesy crust.
Step 2: Breading the Zucchini Rounds
With our dredgin extractg station ready, it’s time to bread each zucchini round. Take a slice of zucchini and first dredge it in the all-purpose flour, ensuring it’s fully coated on both sides. Gently shake off any excess flour. This initial layer of flour acts as a “glue” for the egg wash, helping it to adhere better.
Next, dip the flour-coated zucchini slice into the beaten eggs. Make sure both sides are completely covered in the egg wash. Let any excess egg drip back into the dish.
Finally, transfer the egg-coated zucchini slice to the bread crum extractb and Parmesan mixture. Press gently on both sides to ensure the bread crum extractbs adhere well. You want a nice, even coating all around. Place the breaded zucchini slices on a clean plate or baking sheet in a single layer. Repeat this entire breading process for all of your zucchini slices. Don’t stack the breaded zucchini, as this can cause the coating to stick together and become messy.
Step 3: Heating the Oil for Frying
While you’re breading the zucchini, it’s a good time to start heating your frying oil. In a large skillet, preferably a cast-iron skillet for its excellent heat retention, pour in ¼ cup of vegetable oil. Place the skillet over medium-high heat. It’s important to get the oil to the right temperature before adding the zucchini. If the oil is too cool, the zucchini will absorb too much oil and become greasy. If it’s too hot, the breading will burn before the zucchini has a chance to cook through.
You can test if the oil is ready by dropping a tiny pinch of bread crum extractbs into the skillet. If they sizzle and bubble immediately, the oil is at the perfect temperature. If they sink to the bottom and don’t sizzle, the oil needs more time to heat up. If they burn instantly, the oil is too hot, and you should reduce the heat slightly and let it cool for a minute or two. Maintaining a consistent oil temperature is key to achieving that perfect golden-brown crispiness.
Step 4: Frying the Zucchini to Golden Perfection
Once the oil is hot, carefully add the breaded zucchini slices to the skillet in a single layer. Do not overcrowd the pan. Frying in batches is essential to ensure that the oil temperature remains consistent and that the zucchini pieces have enough space to fry evenly and get crispy. Overcrowding the pan will steam the zucchini rather than fry it, resulting in a less desirable texture. You should hear a satisfying sizzle as soon as the zucchini hits the oil.
Allow the zucchini to fry for about 3 to 4 minutes per side, or until they are beautifully golden brown and crispy. Use a spatula or tongs to carefully flip each slice. Keep an eye on them as they can brown quickly due to the Parmesan cheese in the breading. Adjust the heat as needed to maintain a steady sizzle without burning the coating.
Step 5: Draining and Serving Your Crispy Zucchini
As soon as the zucchini slices are golden brown and crispy on both sides, remove them from the skillet using a slotted spoon or tongs. Place them on a plate lined with paper towels. This step is crucial for absorbing any excess oil, ensuring your pan-fried zucchini is delightfully crisp and not greasy. Let them drain for a minute or two.
Serve your pan-fried zucchini immediately while they are hot and at their crispiest. They are fantastic on their own as a simple appetizer, or they can be served as a delicious side dish to grilled meats, fish, or pasta. A sprinkle of extra Parmesan cheese or a side of your favorite dipping sauce, like marinara, ranch, or a lemon aioli, can elevate this already wonderful dish even further. Enjoy the satisfying crunch and the savory flavor of your homemade pan-fried zucchini!
Conclusion:
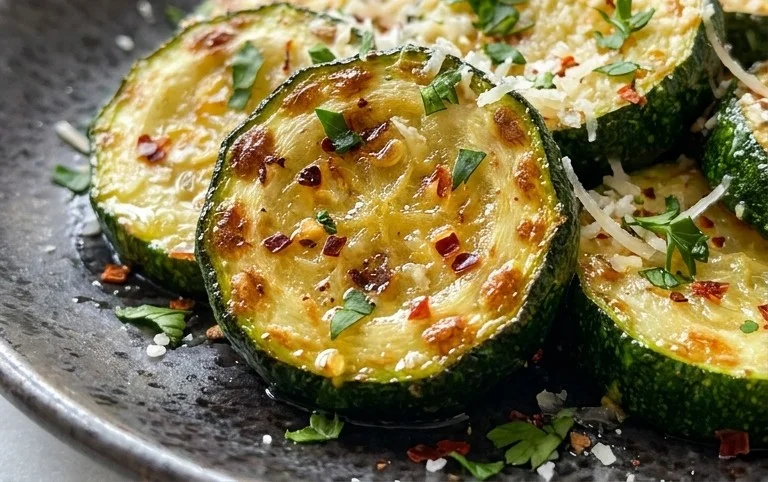
There you have it! Pan fried zucchini is such a delightful and incredibly versatile dish, perfect for adding a burst of fresh, slightly sweet flavor to any meal. Its simplicity is truly its superpower – requiring just a few basic ingredients and minimal time, you can transform humble zucchini into a golden-brown, tender-crisp delight. It’s a fantastic way to enjoy seasonal produce and offers a healthy yet satisfying side that even picky eaters often embrace.
I love serving pan fried zucchini alongside grilled chicken or fish, as a vibrant addition to pasta dishes, or even as a light appetizer with a squeeze of lemon. Don’t be afraid to experiment with flavors! Consider adding a sprinkle of grated Parmesan cheese towards the end of cooking, a pinch of red pepper flakes for a touch of heat, or fresh herbs like parsley or dill stirred in just before serving. It’s a blank canvas waiting for your culinary creativity!
I truly encourage you to give this pan fried zucchini recipe a try. It’s so rewarding to whip up something delicious and healthy so effortlessly. Let me know how you enjoy it!
Frequently Asked Questions:
Why is my pan fried zucchini soggy?
Soggin extractess usually happens if the pan isn’t hot enough or if you overcrowd the pan. Make sure your skillet is nice and hot before adding the zucchini, and cook in batches if necessary to allow each piece to get a good sear and crisp up, rather than steam. Also, ensure your zucchini slices aren’t too thick.
Can I make pan fried zucchini ahead of time?
While pan fried zucchini is best enjoyed fresh for optimal crispness, you can technically make it ahead. However, it will lose some of its crisp texture and become softer as it sits. If you must, reheat it gently in a dry skillet or a moderate oven to regain some of the texture.
Pan Fried Zucchini
Crispy and delicious pan-fried zucchini rounds, perfect as a side dish or appetizer.
Ingredients
-
2 medium sized zucchinis (sliced into ½” rounds)
-
3/4 cup all-purpose flour
-
2 large eggs (beaten)
-
1/2 tsp salt
-
1/4 tsp ground black pepper
-
1 cup breadcrumbs
-
1/2 cup parmesan cheese
-
1/4 cup vegetable oil (for frying)
Instructions
-
Step 1
Slice the zucchinis into ½” thick rounds. -
Step 2
In a shallow dish, combine the flour, salt, and pepper. -
Step 3
In another shallow dish, whisk the eggs. -
Step 4
In a third shallow dish, combine the breadcrumbs and Parmesan cheese. -
Step 5
Dip each zucchini round first in the flour mixture, then in the beaten egg, and finally coat thoroughly with the breadcrumb and cheese mixture. -
Step 6
Heat the vegetable oil in a large skillet over medium-high heat. -
Step 7
Fry the coated zucchini slices in batches for about 2-3 minutes per side, until golden brown and crispy. -
Step 8
Remove from skillet and drain on paper towels.
Important Information
Nutrition Facts (Per Serving)
It is important to consider this information as approximate and not to use it as definitive health advice.
Allergy Information
Please check ingredients for potential allergens and consult a health professional if in doubt.