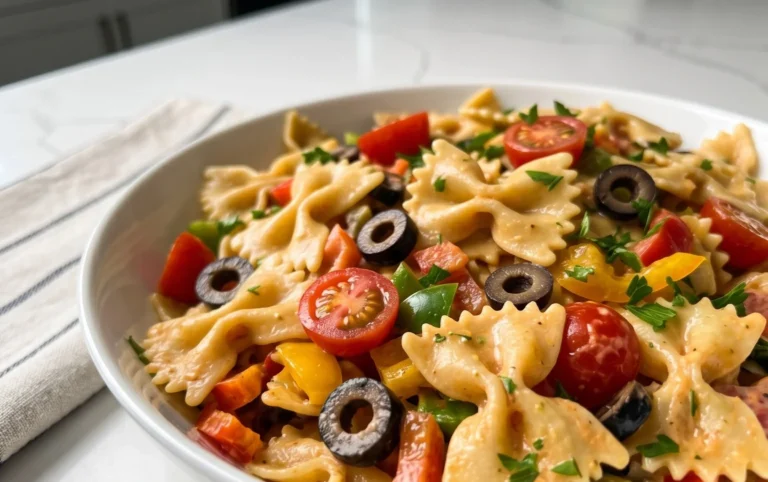
Rainbow Orzo Salad- Vibrant & Easy Recipe
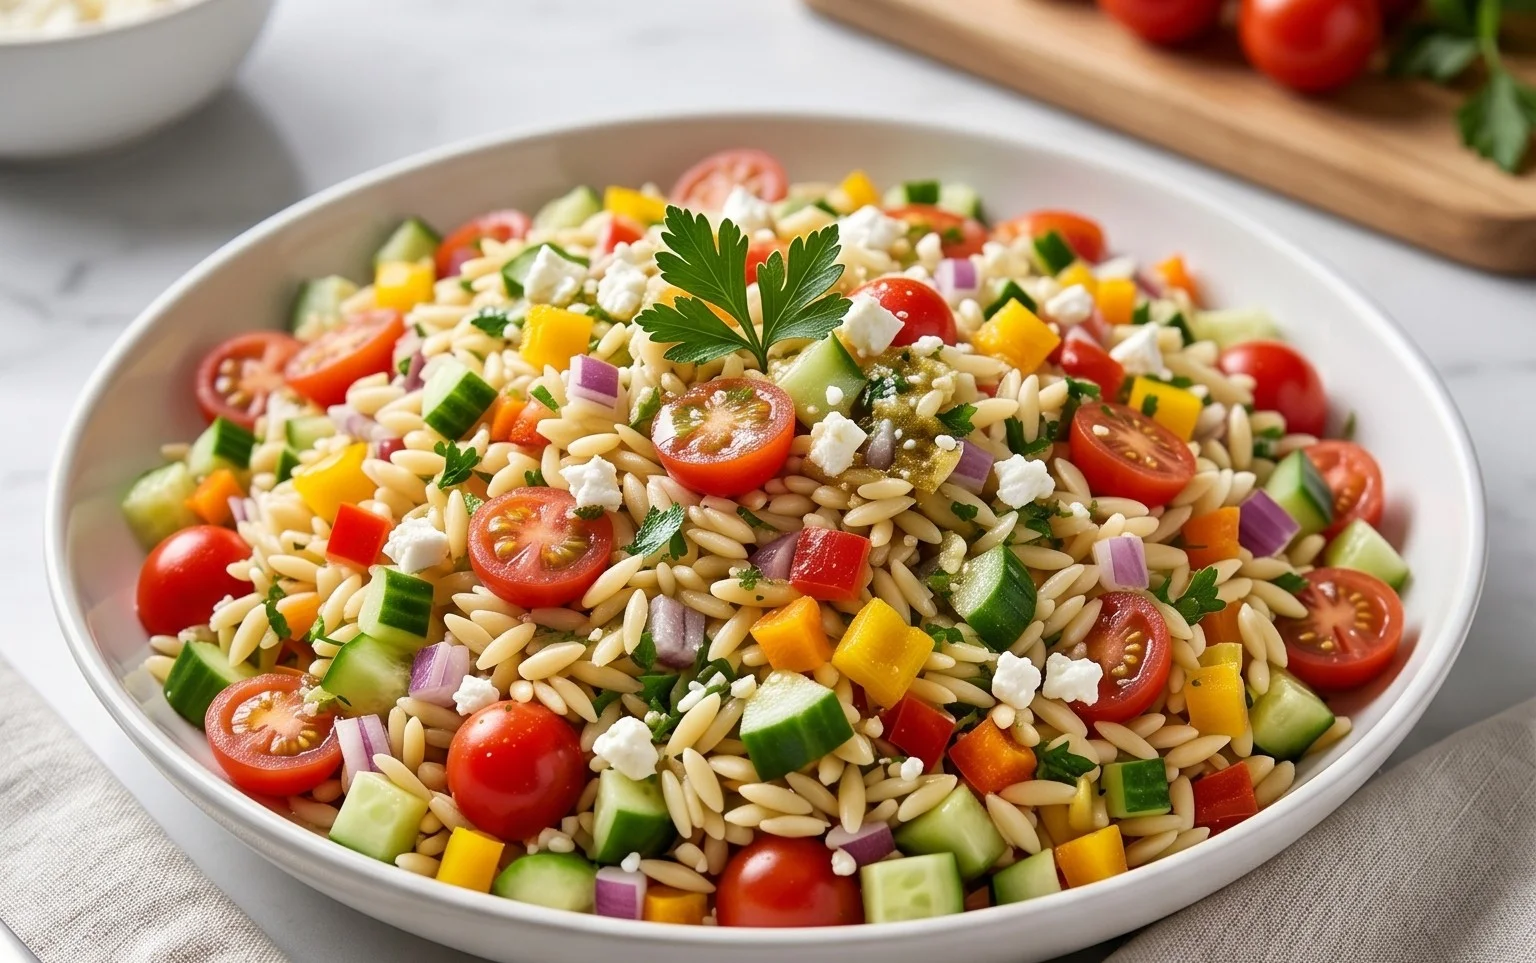
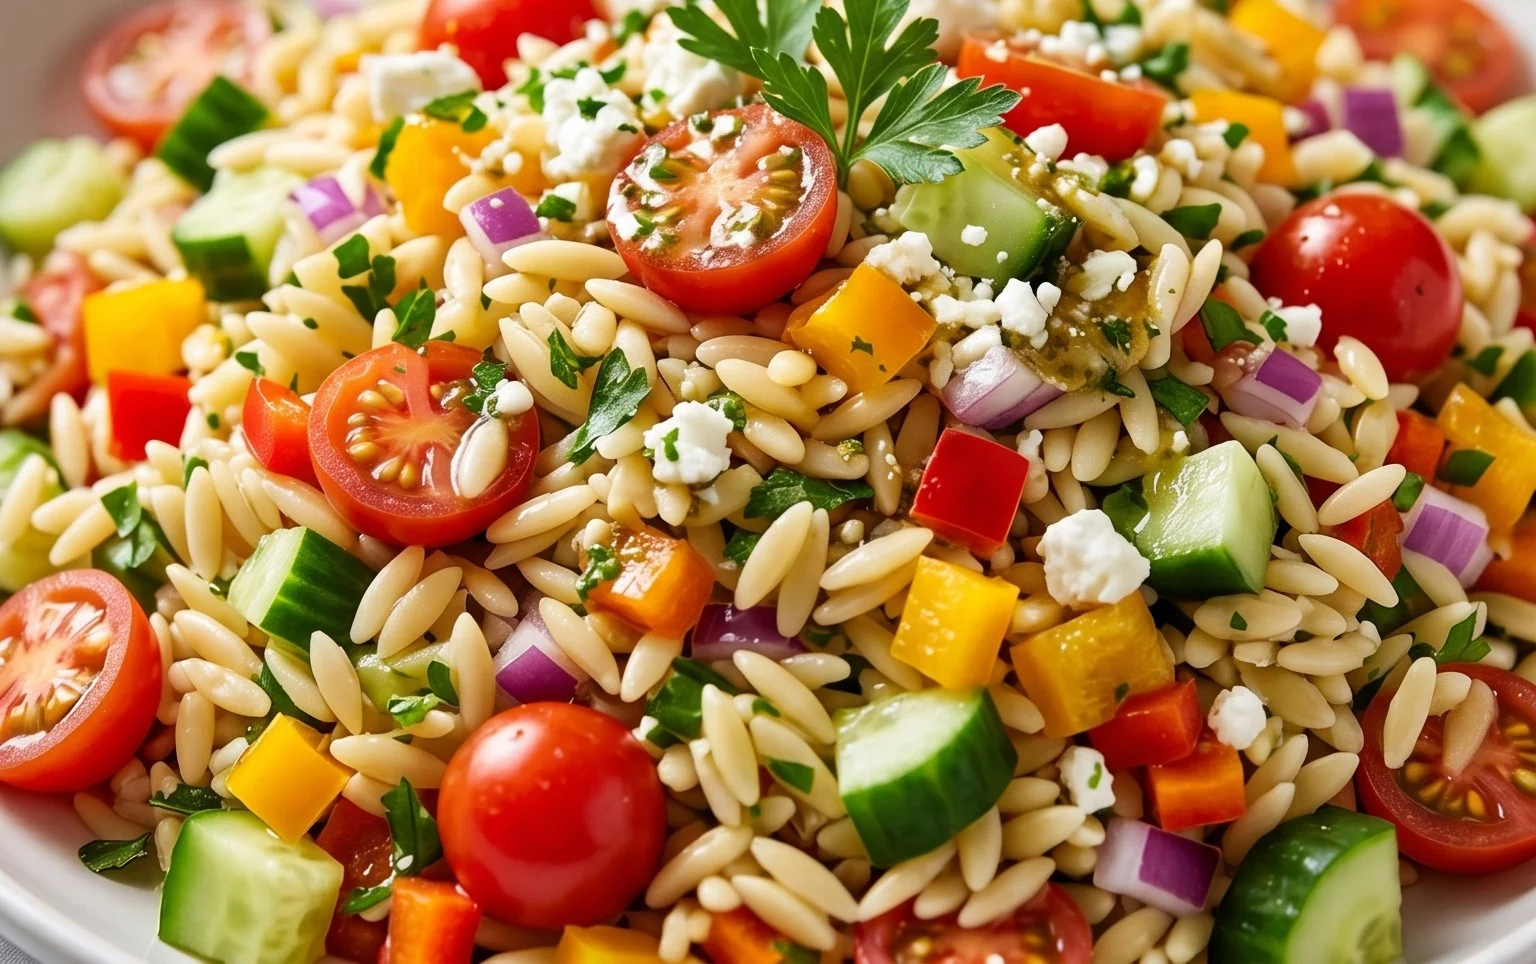
The Rainbow Orzo Salad is more than just a side dish; it’s a vibrant celebration on a plate! When I first whipped up this colorful creation, I was instantly smitten, and I know you will be too. It’s the kind of dish that brightens any table, whether it’s a casual weeknight dinner, a potluck with friends, or a festive gathering. What truly makes this Rainbow Orzo Salad so beloved is its incredible versatility and its ability to be customized to your heart’s content. Each spoonful offers a delightful medley of textures and flavors, from the tender orzo pasta to the crisp, fresh vegetables. It’s a testament to how simple ingredients, when brought together with a little color and care, can create something truly spectacular and utterly delicious.
Why You’ll Adore This Dish
A Feast for the Eyes and the Palate
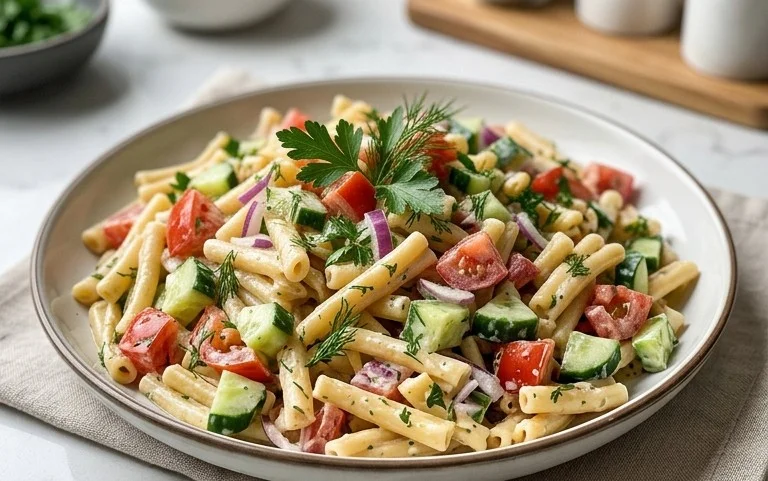
Rainbow Orzo Salad
Get ready to brighten up your plate with this vibrant and utterly delicious Rainbow Orzo Salad! This dish is a true celebration of color and flavor, making it perfect for picnics, potlucks, or simply a light and satisfying weeknight meal. The beauty of this salad lies in its simple yet impactful combination of fresh vegetables, perfectly cooked orzo, and a zesty, homemade dressing. It’s a salad that’s as pleasing to the eye as it is to the palate, and best of all, it’s incredibly easy to assemble. We’ll be packing in a spectrum extract of nutritious ingredients that offer a delightful crunch and a burst of freshness in every bite. So, let’s dive in and create a masterpiece of a salad!
Ingredients:
Cooking Instructions
Phase 1: Cooking the Orzo
The foundation of our Rainbow Orzo Salad is, of course, the orzo pasta. It’s crucial to cook it perfectly – al dente is the name of the game here, meaning it should have a slight bite to it, not be mushy. To start, grab a large pot and fill it generously with water. You’ll want enough water so the orzo has plenty of room to move around and cook evenly. Bring the water to a rolling boil over high heat. Once it’s boiling vigorously, add the 1 teaspoon of salt. This not only seasons the pasta as it cooks but also helps prevent it from sticking together. Carefully add the 1 1/2 cups of uncooked orzo to the boiling water. Stir the orzo immediately to ensure no strands clump together at the bottom of the pot.
Now, let the orzo cook according to the package directions. While most packages will suggest a cooking time, it’s always best to start checking a minute or two before the recommended time is up. We’re aiming for that perfect al dente texture. To test, carefully scoop out a piece of orzo with a spoon and taste it. It should be tender but still have a slight chew. Once it’s cooked to your liking, immediately drain the orzo in a colander. Do not rinse the orzo; the starch left on the pasta helps the dressing adhere better to the grains. Let the drained orzo sit in the colander for a few minutes to allow excess water to evaporate. You can gently shake the colander to help speed this up. Transfer the cooked orzo to a large mixing bowl. It’s best to have the orzo slightly cooled before adding the dressing and vegetables, so spread it out a bit in the bowl to help it cool down faster.
Phase 2: Preparing the Fresh Components
While the orzo is cooling, let’s get our vibrant “rainbow” components ready. This is where the salad truly comes to life! Take your red bell pepper and orange bell pepper. Wash them thoroughly, then remove the stems, seeds, and membranes. For the best texture and visual appeal in the salad, we want these finely chopped. Aim for pieces that are roughly the same size as the orzo itself, or slightly smaller. This ensures that each bite is a harmonious blend of flavors and textures. Repeat this finely chopping process for the english cucumber. Cucumbers can sometimes release a lot of water, so for a firmer salad, you might consider scooping out the seedy inner core before chopping.
Next, we’ll finely chop the small red onion. Red onions add a lovely sharpness and color. If you find raw red onion a bit too pungent for your taste, you can soak the chopped onion in cold water for about 10-15 minutes. Drain it very well before adding it to the salad. If you’re using fresh corn, cut the kernels off the cob. If you’re using frozen corn, make sure it’s completely thawed and any excess water has been drained. Finally, we’ll prepare our fresh herbs. Finely chop the 1/3 cup of fresh basil and the 1/4 cup of fresh parsley. These herbs are essential for adding a burst of freshness and aromatic complexity to our salad. Having all your vegetables and herbs prepped and ready to go makes the assembly process smooth and enjoyable.
Phase 3: Crafting the Zesty Dressing
The dressing is the glue that holds our Rainbow Orzo Salad together, and this one is a stunner. In a separate medium-sized bowl or a jar with a tight-fitting lid, we’ll combine all the dressing ingredients. Start with the 1/4 cup of olive oil. This is our healthy fat base. Next, add the 3 tablespoons of red grape juice vinegar. This vinegar offers a lovely fruity and slightly tart flavor that pairs beautifully with the other ingredients. For that essential brightness, we’ll add 2 tablespoons of fresh lemon juice. Squeeze it from about half a lemon, making sure to catch any seeds.
Now for the zing: 2 tablespoons of Dijon mustard. Dijon adds a wonderful creamy texture and a gentle kick that complements the acidity of the vinegar and lemon. Mince your 2 cloves of garlic very finely, or use a garlic press, and add it to the bowl. Finally, add 1 teaspoon of dried oregano. This herb adds a classic Mediterranean note that ties all the flavors together. Now, whisk all these ingredients together vigorously until the dressing is well emulsified, meaning it’s smooth and the oil and vinegar are combined. If you’re using a jar, simply screw on the lid and shake it until well combined. Taste the dressing and adjust seasonings if needed – perhaps a pinch more salt or a touch more lemon juice to your preference.
Phase 4: Assembling the Salad
Now for the most exciting part – bringin extractg it all together! In the large mixing bowl with your slightly cooled orzo, add all the finely chopped vegetables: the red bell pepper, orange bell pepper, english cucumber, red onion, and corn. Also, add the freshly chopped basil and parsley. Don’t be shy with the herbs; they are a key flavor component! Gently toss all these ingredients together with the orzo to distribute them evenly throughout the bowl.
Once the vegetables and herbs are well incorporated with the orzo, it’s time to add our beautiful, homemade dressing. Pour about half of the dressing over the salad. Gently toss everything together to coat the orzo and vegetables evenly. We want every single piece to be kissed by that delicious dressing. Taste the salad at this point. If you feel it needs more dressing to be sufficiently moistened and flavorful, add the remaining dressing, a little at a time, tossing as you go. It’s always better to add more dressing gradually than to overdress the salad initially.
Phase 5: Resting and Serving
For the best flavor, I highly recommend letting your Rainbow Orzo Salad rest for at least 15-30 minutes before serving. This resting period allows all the beautiful flavors to meld together. The orzo will absorb some of the dressing, and the vegetables will soften slightly, making the salad even more delicious. You can cover the bowl with plastic wrap and let it sit at room temperature, or if you’re preparing it further in advance, you can refrigerate it. If you refrigerate it, be sure to bring it back to room temperature or give it a good stir before serving. This salad is incredibly versatile. You can serve it as a light lunch, a stunning side dish to grilled chicken or fish, or as a colorful addition to a buffet spread. Enjoy every vibrant, flavorful bite!
Conclusion:
There you have it – a vibrant and delicious Rainbow Orzo Salad that’s sure to become a go-to for potlucks, picnics, or a light and satisfying meal. This recipe truly shines because of its incredible versatility and the sheer burst of color and flavor it brings to any table. The tender orzo pasta acts as the perfect canvas for a medley of fresh, crisp vegetables, all tossed in a zesty dressing that ties everything together beautifully. It’s not just a pretty dish; it’s packed with nutrients and offers a satisfying crunch with every bite, making it a healthy and enjoyable option for everyone.
We’ve explored a few wonderful serving suggestions, from pairing it with grilled chicken or fish to serving it as a standalone vegetarian main. The beauty of this Rainbow Orzo Salad lies in its adaptability. Feel free to swap out vegetables based on what’s in season or what you have on hand – bell peppers, cherry tomatoes, cucumbers, and corn are always fantastic additions. For a protein boost, consider adding chickpeas, black beans, or crum extractbled feta cheese. I truly encourage you to give this recipe a try; I’m confident you’ll love its freshness and ease of preparation!
Frequently Asked Questions:
Can I make this Rainbow Orzo Salad ahead of time?
Absolutely! This salad is actually even better when the flavors have a chance to meld for a few hours in the refrigerator. Just store it in an airtight container. You might want to give it a good stir and perhaps add a little extra dressing before serving if it seems a bit dry.
What are some gluten-free options for this recipe?
To make this Rainbow Orzo Salad gluten-free, simply substitute the orzo pasta with a gluten-free pasta alternative like gluten-free orzo, quinoa, or even small shell pasta. Ensure your other ingredients, like any broths used in cooking, are also gluten-free.
Rainbow Orzo Salad
A vibrant and fresh orzo salad bursting with colorful vegetables and a zesty vinaigrette.
Ingredients
-
1 1/2 cups uncooked orzo pasta
-
1 teaspoon salt
-
1 red bell pepper (finely chopped)
-
1 orange bell pepper (finely chopped)
-
1 english cucumber (finely chopped)
-
1 small red onion (finely chopped)
-
1 cup corn (fresh or frozen)
-
1/3 cup fresh basil (chopped)
-
1/4 cup fresh parsley (chopped)
-
1/4 cup olive oil
-
3 tablespoon red grape juice vinegar
-
2 tablespoon lemon juice (half a lemon)
-
2 tablespoon Dijon mustard
-
2 cloves garlic (minced)
-
1 teaspoon dried oregano
Instructions
-
Step 1
Cook orzo pasta according to package directions in salted boiling water. Drain and rinse with cold water. -
Step 2
In a large bowl, combine the cooked orzo, red bell pepper, orange bell pepper, english cucumber, red onion, and corn. -
Step 3
In a separate small bowl, whisk together the olive oil, red grape juice vinegar, lemon juice, Dijon mustard, minced garlic, and dried oregano. -
Step 4
Pour the vinaigrette over the orzo and vegetable mixture. Toss gently to combine. -
Step 5
Stir in the chopped fresh basil and parsley. -
Step 6
Season with additional salt and pepper to taste. Serve chilled or at room temperature.
Important Information
Nutrition Facts (Per Serving)
It is important to consider this information as approximate and not to use it as definitive health advice.
Allergy Information
Please check ingredients for potential allergens and consult a health professional if in doubt.