Crispy Baked Zucchini Fries-Healthy & Delicious Recipe
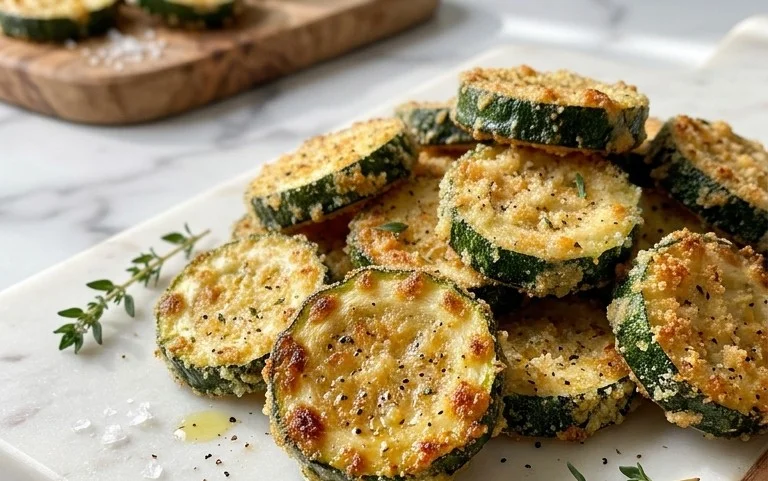
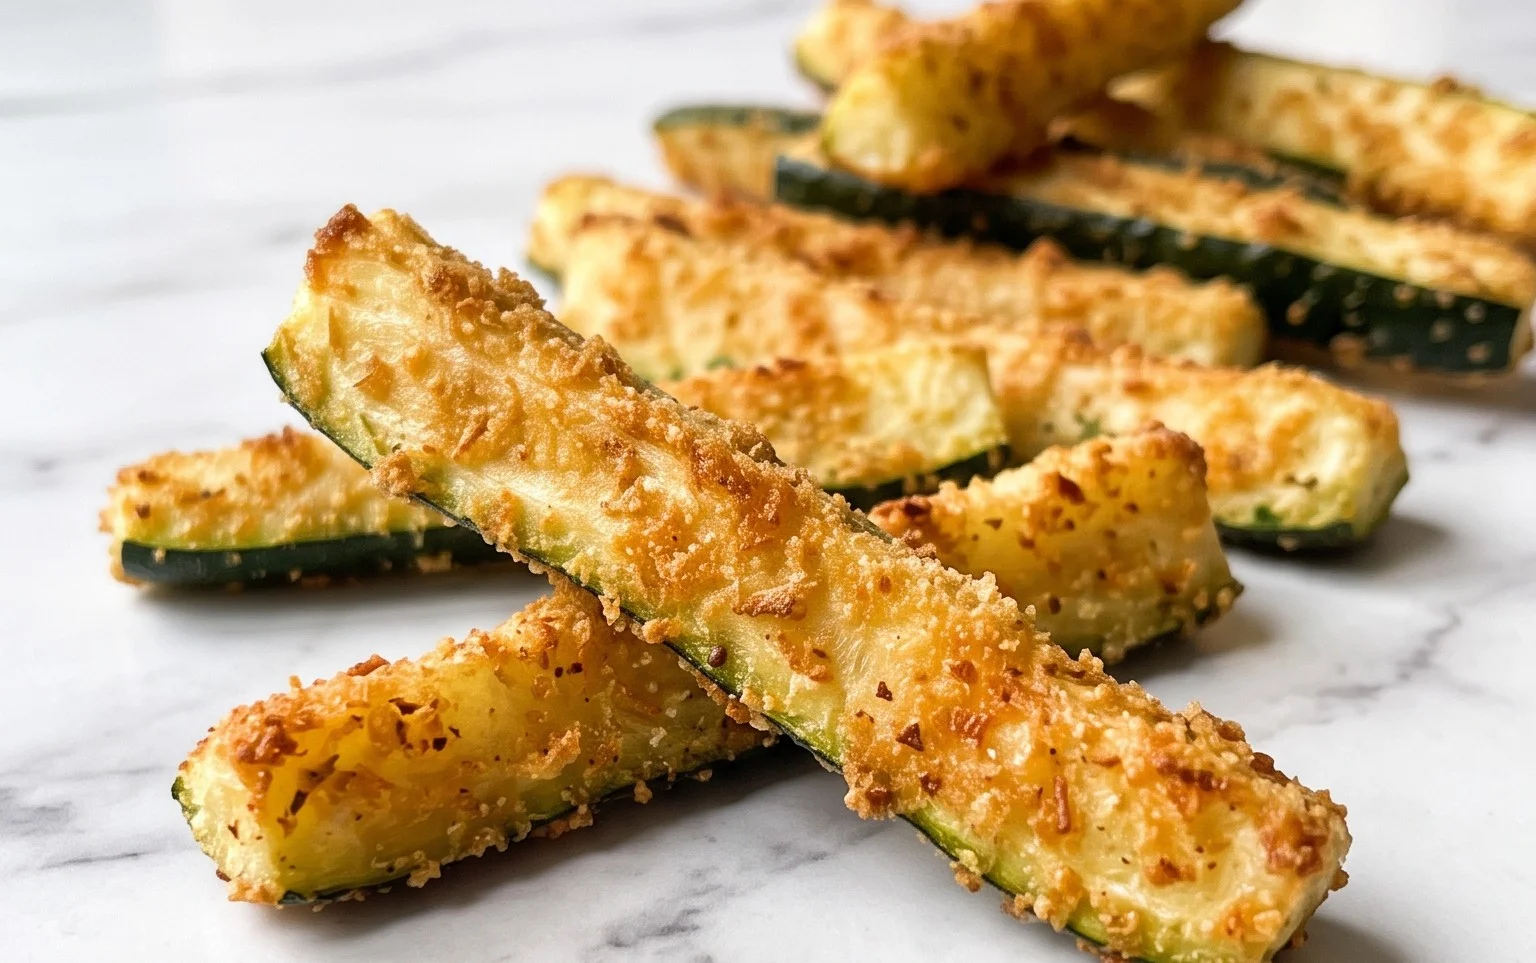
Baked zucchini fries are about to become your new favorite healthy obsession! Forget the greasy, deep-fried versions of the past; we’re talking about a crispy, golden, and incredibly satisfying way to enjoy this versatile summer squash. If you’ve ever found yourself with an abundance of zucchini from your garden or the farmer’s market, you know the struggle of finding exciting ways to use it. Well, consider this your ultimate solution! What makes these baked zucchini fries so special? It’s their incredible texture – a perfectly crisp exterior giving way to a tender, flavorful interior – all achieved with minimal oil and a whole lot of oven magic. They’re wonderfully dippable, surprisingly addictive, and a fantastic appetizer or side dish that even the pickiest eaters will adore. Get ready to fall in love with baked zucchini fries all over again!
Baked Zucchini Fries
Who says you can’t enjoy a crispy, golden fry without the guilt? These baked zucchini fries are my absolute go-to for a healthier, yet incredibly satisfying, snack or side dish. They’re packed with flavor, surprisingly easy to make, and a fantastic way to sneak in some extra veggies, especially for picky eaters. The secret to their amazing texture and taste lies in the simple yet effective coating and the magic of the oven. Forget greasy deep-fried alternatives; these bake up beautifully, achieving that perfect crispness that will have you reaching for more. Let’s dive into how we can create this deliciousness.
Ingredients:
Cooking Instructions
Preparing the Zucchini: The Foundation of Flavor
The first step is all about getting our star ingredient, the zucchini, ready. We want to transform these mild-mannered vegetables into crispy fries. Start by washing your 2 medium zucchinis thoroughly. Next, trim off the ends. Now, decide on the size and shape of your fries. I find that cutting them into uniform sticks, about ¼ to ½ inch thick, works best. This ensures they cook evenly. You can cut them lengthwise into spears, or if you prefer a more traditional fry shape, cut them into discs and then into wedges. It’s important that they are roughly the same size so they achieve that desired crispiness together. After cutting, the key to avoiding soggy fries is to draw out some of the excess moisture. Lay the cut zucchini pieces on a clean kitchen towel or paper towels. Sprinkle them generously with a little salt and let them sit for about 15-20 minutes. You’ll notice beads of moisture appearing on the surface. Gently pat them dry with more paper towels. This simple step makes a world of difference in achieving that delightful crunch.
Creating the Flavorful Coating: The Crispy Secret
Now, let’s get to the delicious coating that will give our zucchini fries their incredible flavor and crispy exterior. We’ll need two separate bowls for this. In the first bowl, whisk together the 1 egg. This will act as our binder. In the second bowl, we’re going to create our flavor-packed dry mixture. Combine the 1 cup of grated Parmesan cheese, 1 teaspoon of garlic powder, and 1 teaspoon of Italian seasoning. Stir these ingredients together until they are well combined. The Parmesan cheese is crucial for that savory, nutty flavor and helps create a wonderfully golden crust as it bakes. The garlic powder and Italian seasoning add aromatic depth that complements the zucchini perfectly. Feel free to adjust the seasonings to your liking; a pinch of red pepper flakes can add a nice kick if you enjoy a little heat.
The Mayo Dip: Adding Moisture and Tang
For the dipping sauce, we’re going to combine a few simple ingredients to create a tangy and flavorful base. In a small bowl, mix together the ½ cup of mayonnaise. This acts as a fantastic base, providing moisture and a creamy texture that helps the breading adhere. To this, add the juice of 1 lemon. The lemon juice adds a bright, zesty flavor that cuts through the richness of the mayonnaise and enhances the overall taste of the fries. Next, stir in 1 minced garlic clove. Freshly minced garlic provides a pungent aroma and a more intense garlic flavor than garlic powder. Finally, add 1 tablespoon of finely chopped fresh parsley for a touch of freshness and color. Season this mixture with salt and pepper to taste. This is your dipping sauce, and it’s delicious enough to eat on its own, but it’s even better as a pairing for these crispy zucchini fries.
Breading the Zucchini: The Double-Dip Method for Maximum Crispiness
This is where the magic really happens! We’re going to employ a double-dipping technique to ensure a robust and super-crispy coating. Take your prepared zucchini sticks (remember to pat them dry again if they’ve released more moisture). First, dip each zucchini stick into the beaten egg, ensuring it’s fully coated. Let any excess egg drip off. Then, immediately transfer the egg-coated zucchini stick into the Parmesan and seasoning mixture. Press the zucchini into the mixture, coating all sides thoroughly. You want to make sure every surface is covered in that delicious cheesy, herby goodness. For an extra-crispy result, you can repeat this process: dip the breaded zucchini back into the egg, and then back into the cheese mixture again. This creates a thicker, more substantial coating that will bake up beautifully. Don’t overcrowd the bowl; work in batches if necessary.
Baking to Golden Perfection: The Final Transformation
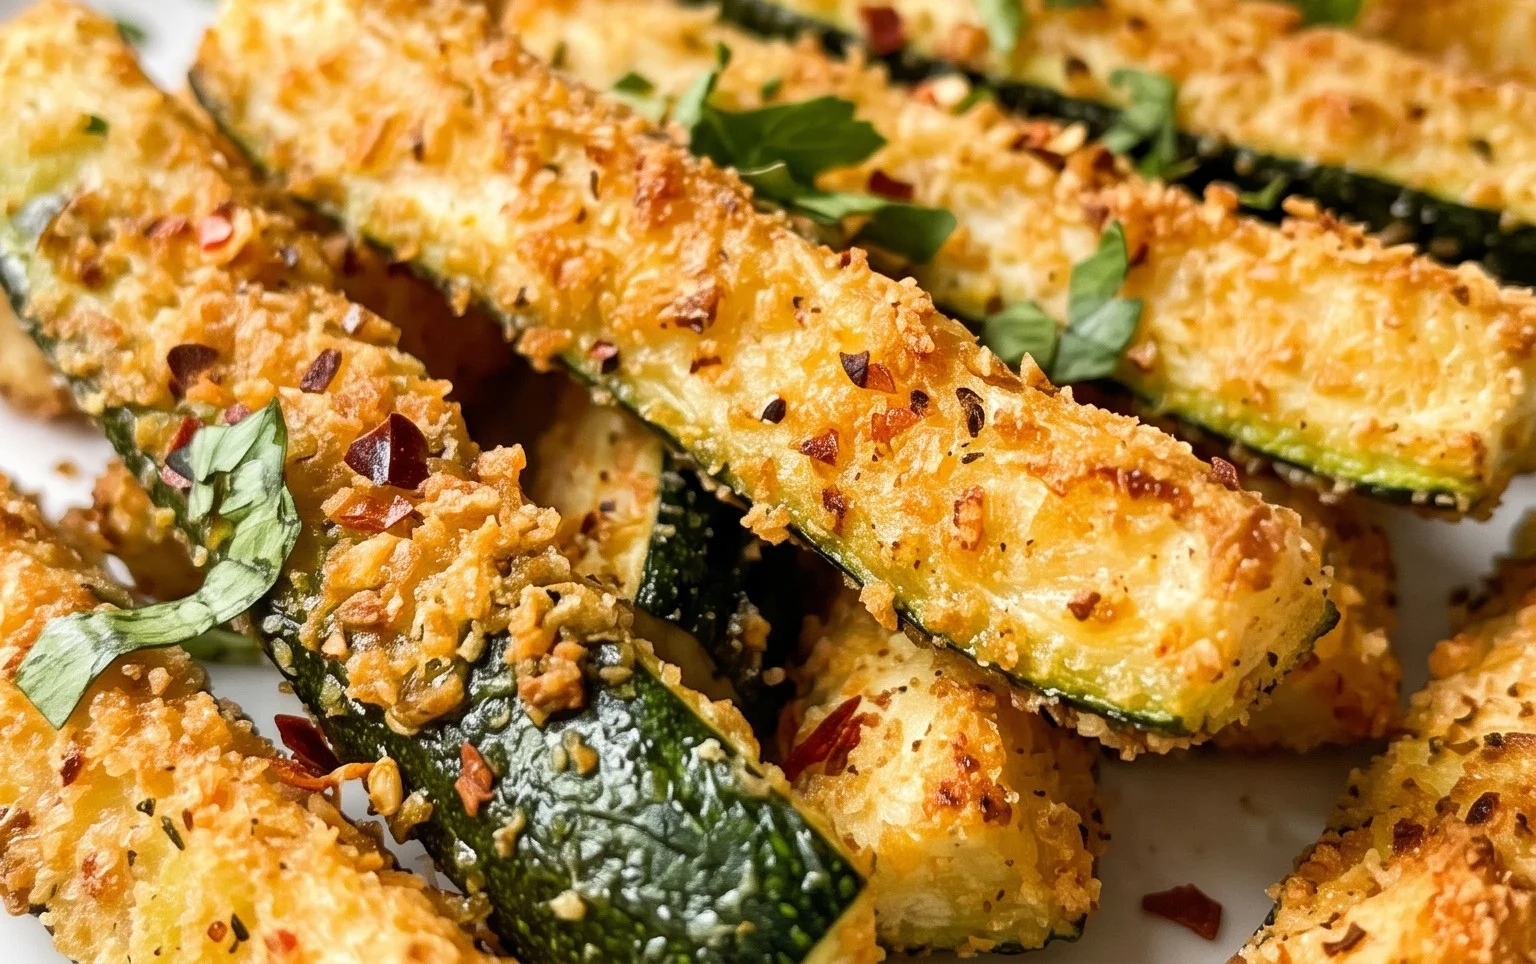
Preheat your oven to 400°F (200°C). Line a baking sheet with parchment paper. This is important for easy cleanup and to prevent sticking, ensuring your fries get that beautiful golden-brown color. Arrange the breaded zucchini fries in a single layer on the prepared baking sheet, making sure they are not touching each other. This allows the hot air to circulate evenly around each fry, promoting crispiness. Bake for 20-25 minutes, or until the fries are golden brown and crispy. You might want to flip them halfway through the baking time for even browning on all sides. Keep an eye on them, as oven temperatures can vary. The goal is a beautiful golden hue and a firm, crisp texture. Once they are ready, remove them from the oven and let them cool for just a minute or two before serving. These baked zucchini fries are best enjoyed immediately while they are hot and crispy, with that delightful tangy mayonnaise dip on the side. Enjoy this healthier take on a classic favorite!
Conclusion:
And there you have it – the ultimate guide to making delicious baked zucchini fries! This recipe is fantastic because it offers a healthier, lighter alternative to traditional fried snacks, allowing you to enjoy that satisfying crunch without the guilt. They’re incredibly versatile and a wonderful way to incorporate more vegetables into your diet, perfect for picky eaters and adults alike. We hope you’ll give these baked zucchini fries a try and discover how incredibly easy and rewarding it is to make them. They’re a guaranteed crowd-pleaser for any occasion, from casual weeknight dinners to game day gatherings.
We love serving these crispy delights as an appetizer with your favorite dipping sauces like ranch, marinara, or a spicy aioli. They also make a fantastic side dish for burgers, sandwiches, or grilled chicken. Don’t be afraid to experiment with flavor! Try adding a sprinkle of garlic powder, onion powder, or a pinch of smoked paprika to the breading for an extra kick. You could even toss them with a little Parmesan cheese before baking for a cheesy twist.
Frequently Asked Questions about Baked Zucchini Fries:
Q: How do I prevent my baked zucchini fries from getting soggy?
The key to crispy baked zucchini fries is to ensure they are as dry as possible before breading. After slicing, gently pat them dry with paper towels. Also, avoid overcrowding the baking sheet; give them plenty of space so air can circulate around each fry. Baking them on a wire rack placed over the baking sheet can also help with air circulation and prevent soggin extractess from the bottom.
Q: Can I make these ahead of time?
While they are best enjoyed fresh from the oven for maximum crispiness, you can prepare the unbaked, breaded zucchini fries a few hours in advance. Arrange them in a single layer on a parchment-lined baking sheet and refrigerate. You may need to add a minute or two to the baking time. Reheating leftovers in a toaster oven or air fryer will yield much better results than a microwave.
Q: What kind of breadcrum extractbs work best?
Panko breadcrum extractbs are our top recommendation for the crispiest texture. Their larger, flaky size creates a delightful crunch. However, regular breadcrum extractbs, seasoned or unseasoned, will also work well. If using regular breadcrum extractbs, you might want to add a bit more seasoning to compensate for their finer texture.
Baked Zucchini Fries
Crispy and healthy baked zucchini fries, a delicious appetizer or side dish.
Ingredients
-
2 medium zucchinis
-
1 egg
-
1 cup grated Parmesan cheese
-
1 teaspoon garlic powder
-
1 teaspoon Italian seasoning
-
½ cup mayonnaise
-
1 lemon (juiced)
-
1 garlic clove (minced)
-
1 tablespoon finely chopped parsley
-
salt and pepper (to taste)
Instructions
-
Step 1
Preheat oven to 400°F (200°C). Line a baking sheet with parchment paper. -
Step 2
Wash and trim the ends of the zucchinis. Cut each zucchini into 1/2-inch thick sticks, resembling fries. -
Step 3
In a shallow bowl, whisk the egg. -
Step 4
In another shallow bowl, combine the grated Parmesan cheese, garlic powder, Italian seasoning, salt, and pepper. -
Step 5
Dip each zucchini stick into the whisked egg, letting any excess drip off. Then, coat the zucchini sticks in the Parmesan mixture, pressing gently to adhere. -
Step 6
Arrange the coated zucchini fries in a single layer on the prepared baking sheet. -
Step 7
Bake for 15-20 minutes, flipping halfway through, until golden brown and crispy. -
Step 8
While the fries are baking, prepare the dipping sauce: In a small bowl, whisk together the mayonnaise, lemon juice, minced garlic, and chopped parsley. Season with salt and pepper to taste.
Important Information
Nutrition Facts (Per Serving)
It is important to consider this information as approximate and not to use it as definitive health advice.
Allergy Information
Please check ingredients for potential allergens and consult a health professional if in doubt.